Fabric Lanyard Tutorial
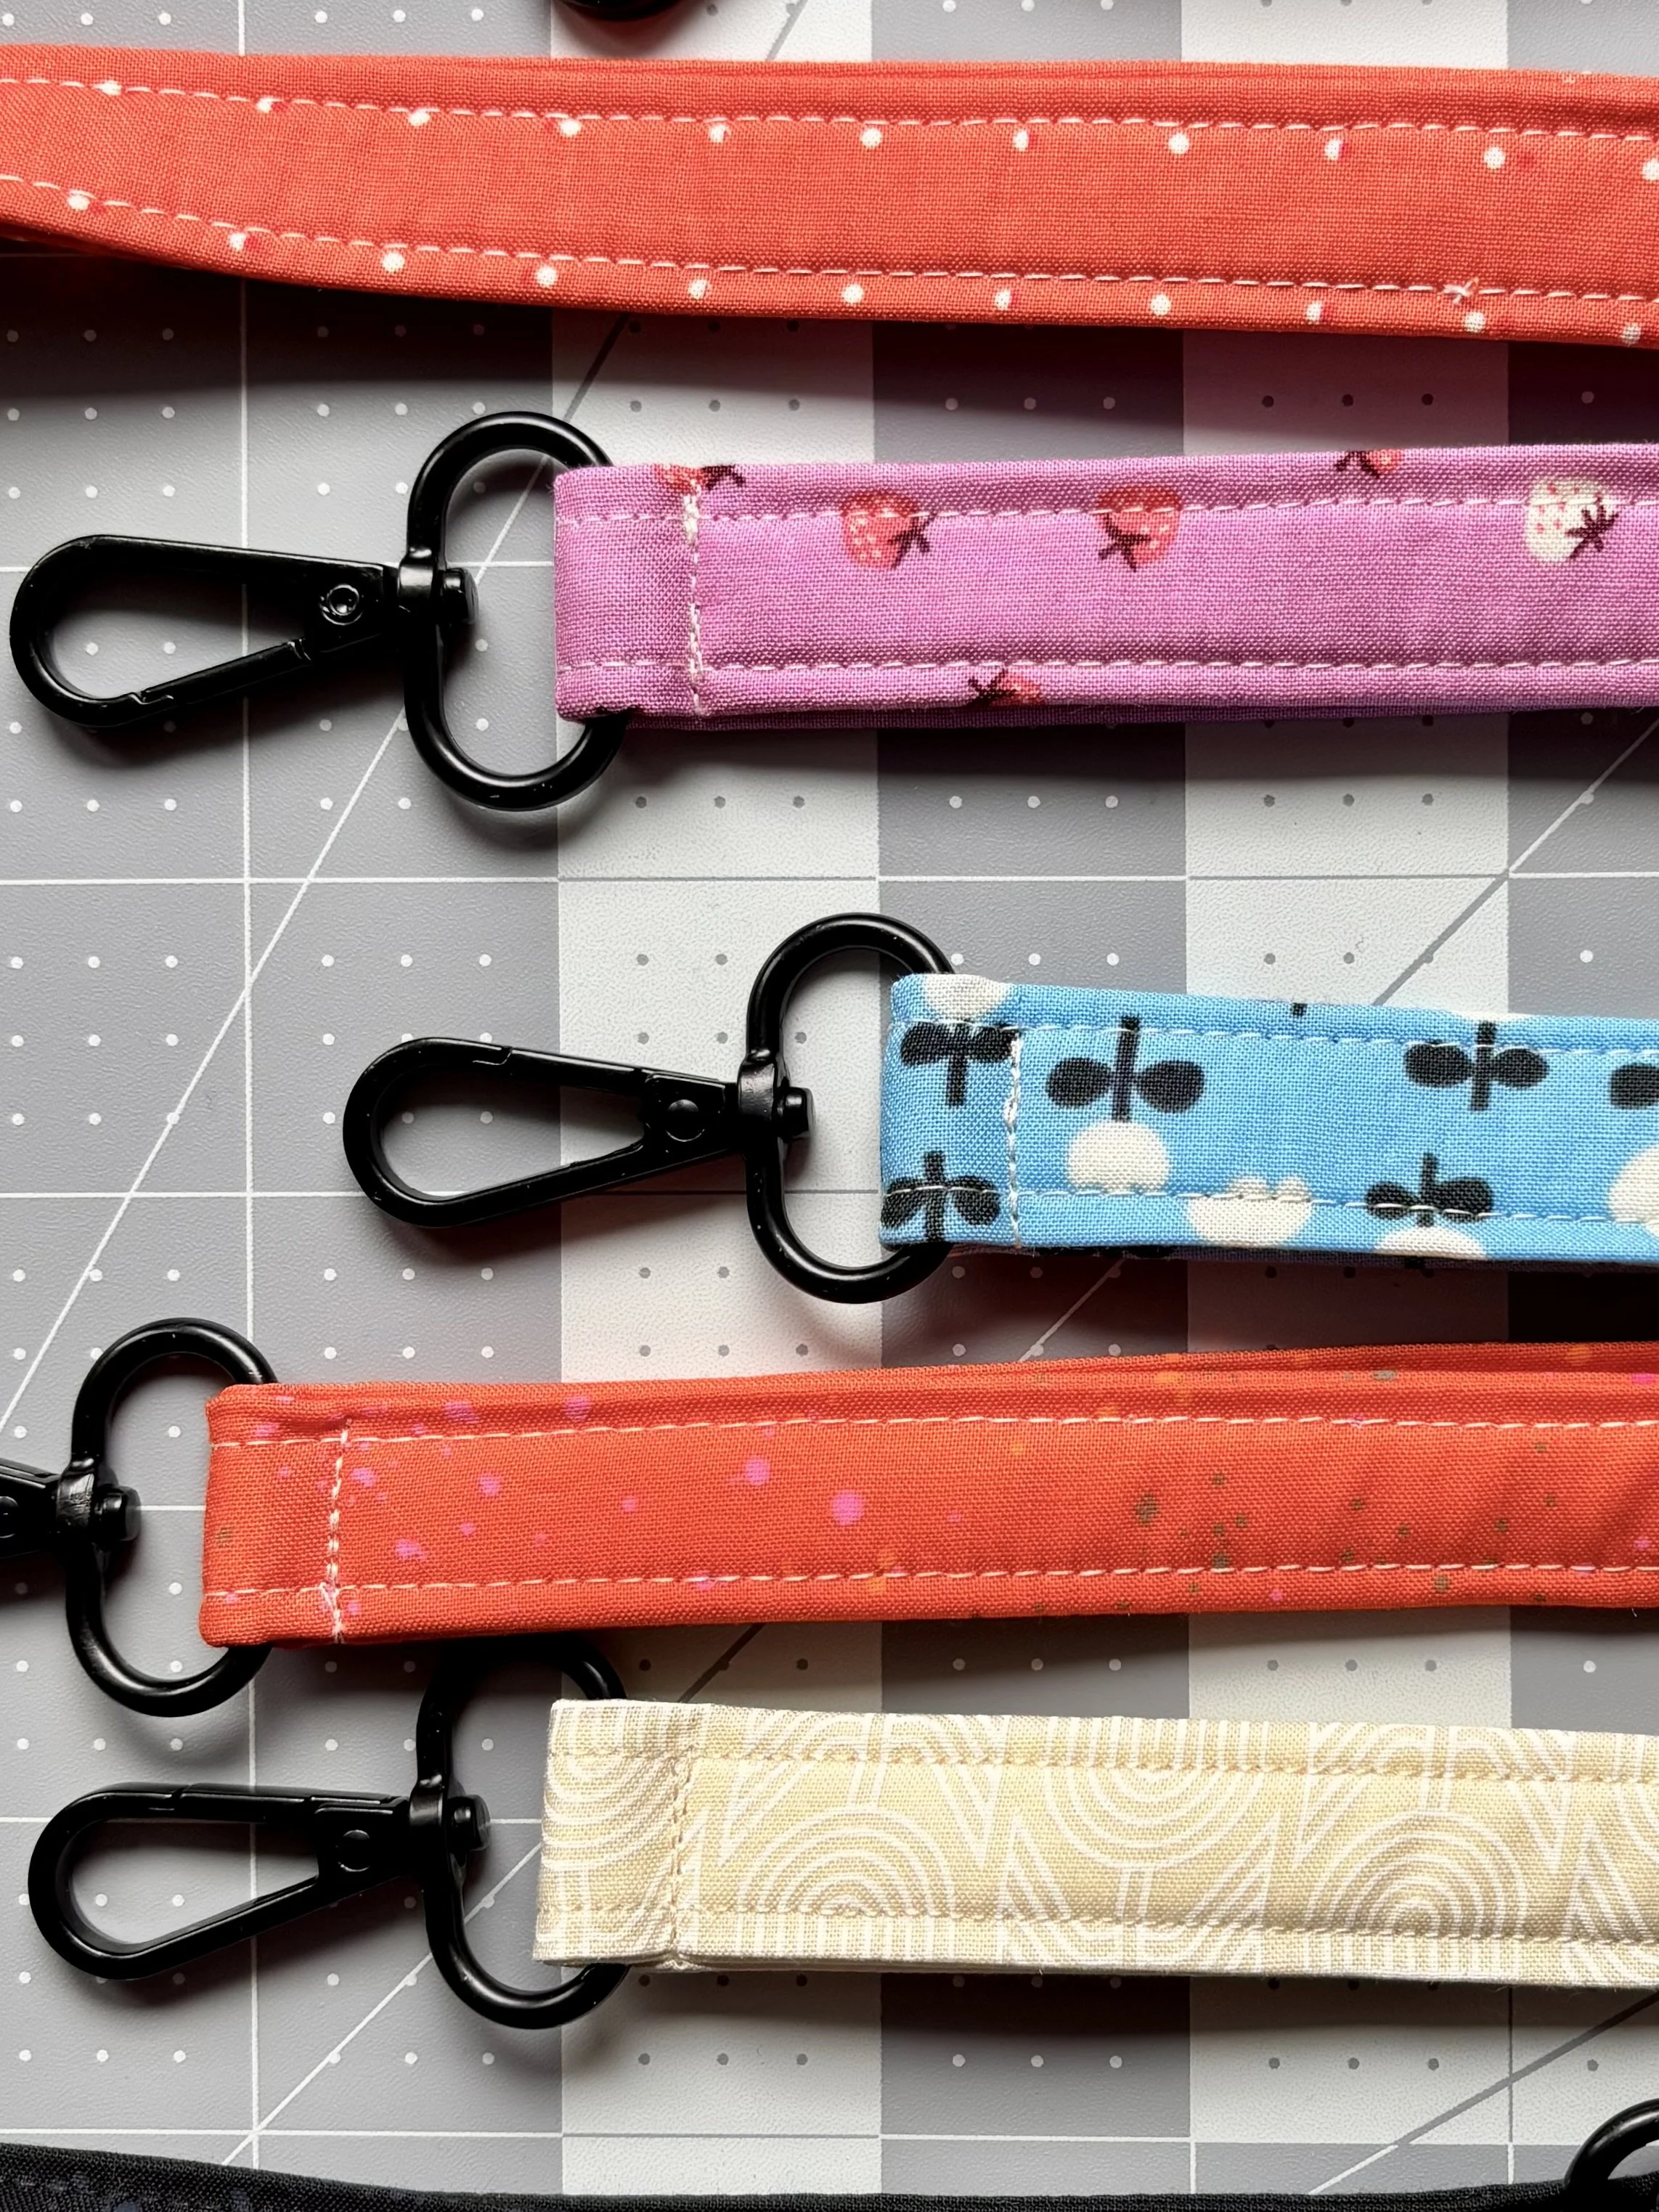
Turn your fabric scraps into function. These lanyards are easy to sew and perfect for keeping your badge or keys close.
Overview
These fabric lanyards come together in no time and are perfect for using your leftover width of fabric scraps. Not only are they handy for events and conferences, but they make great teacher gifts or stocking stuffers for anyone. Once you make one, you’ll definitely want to make a few more!
Supply list
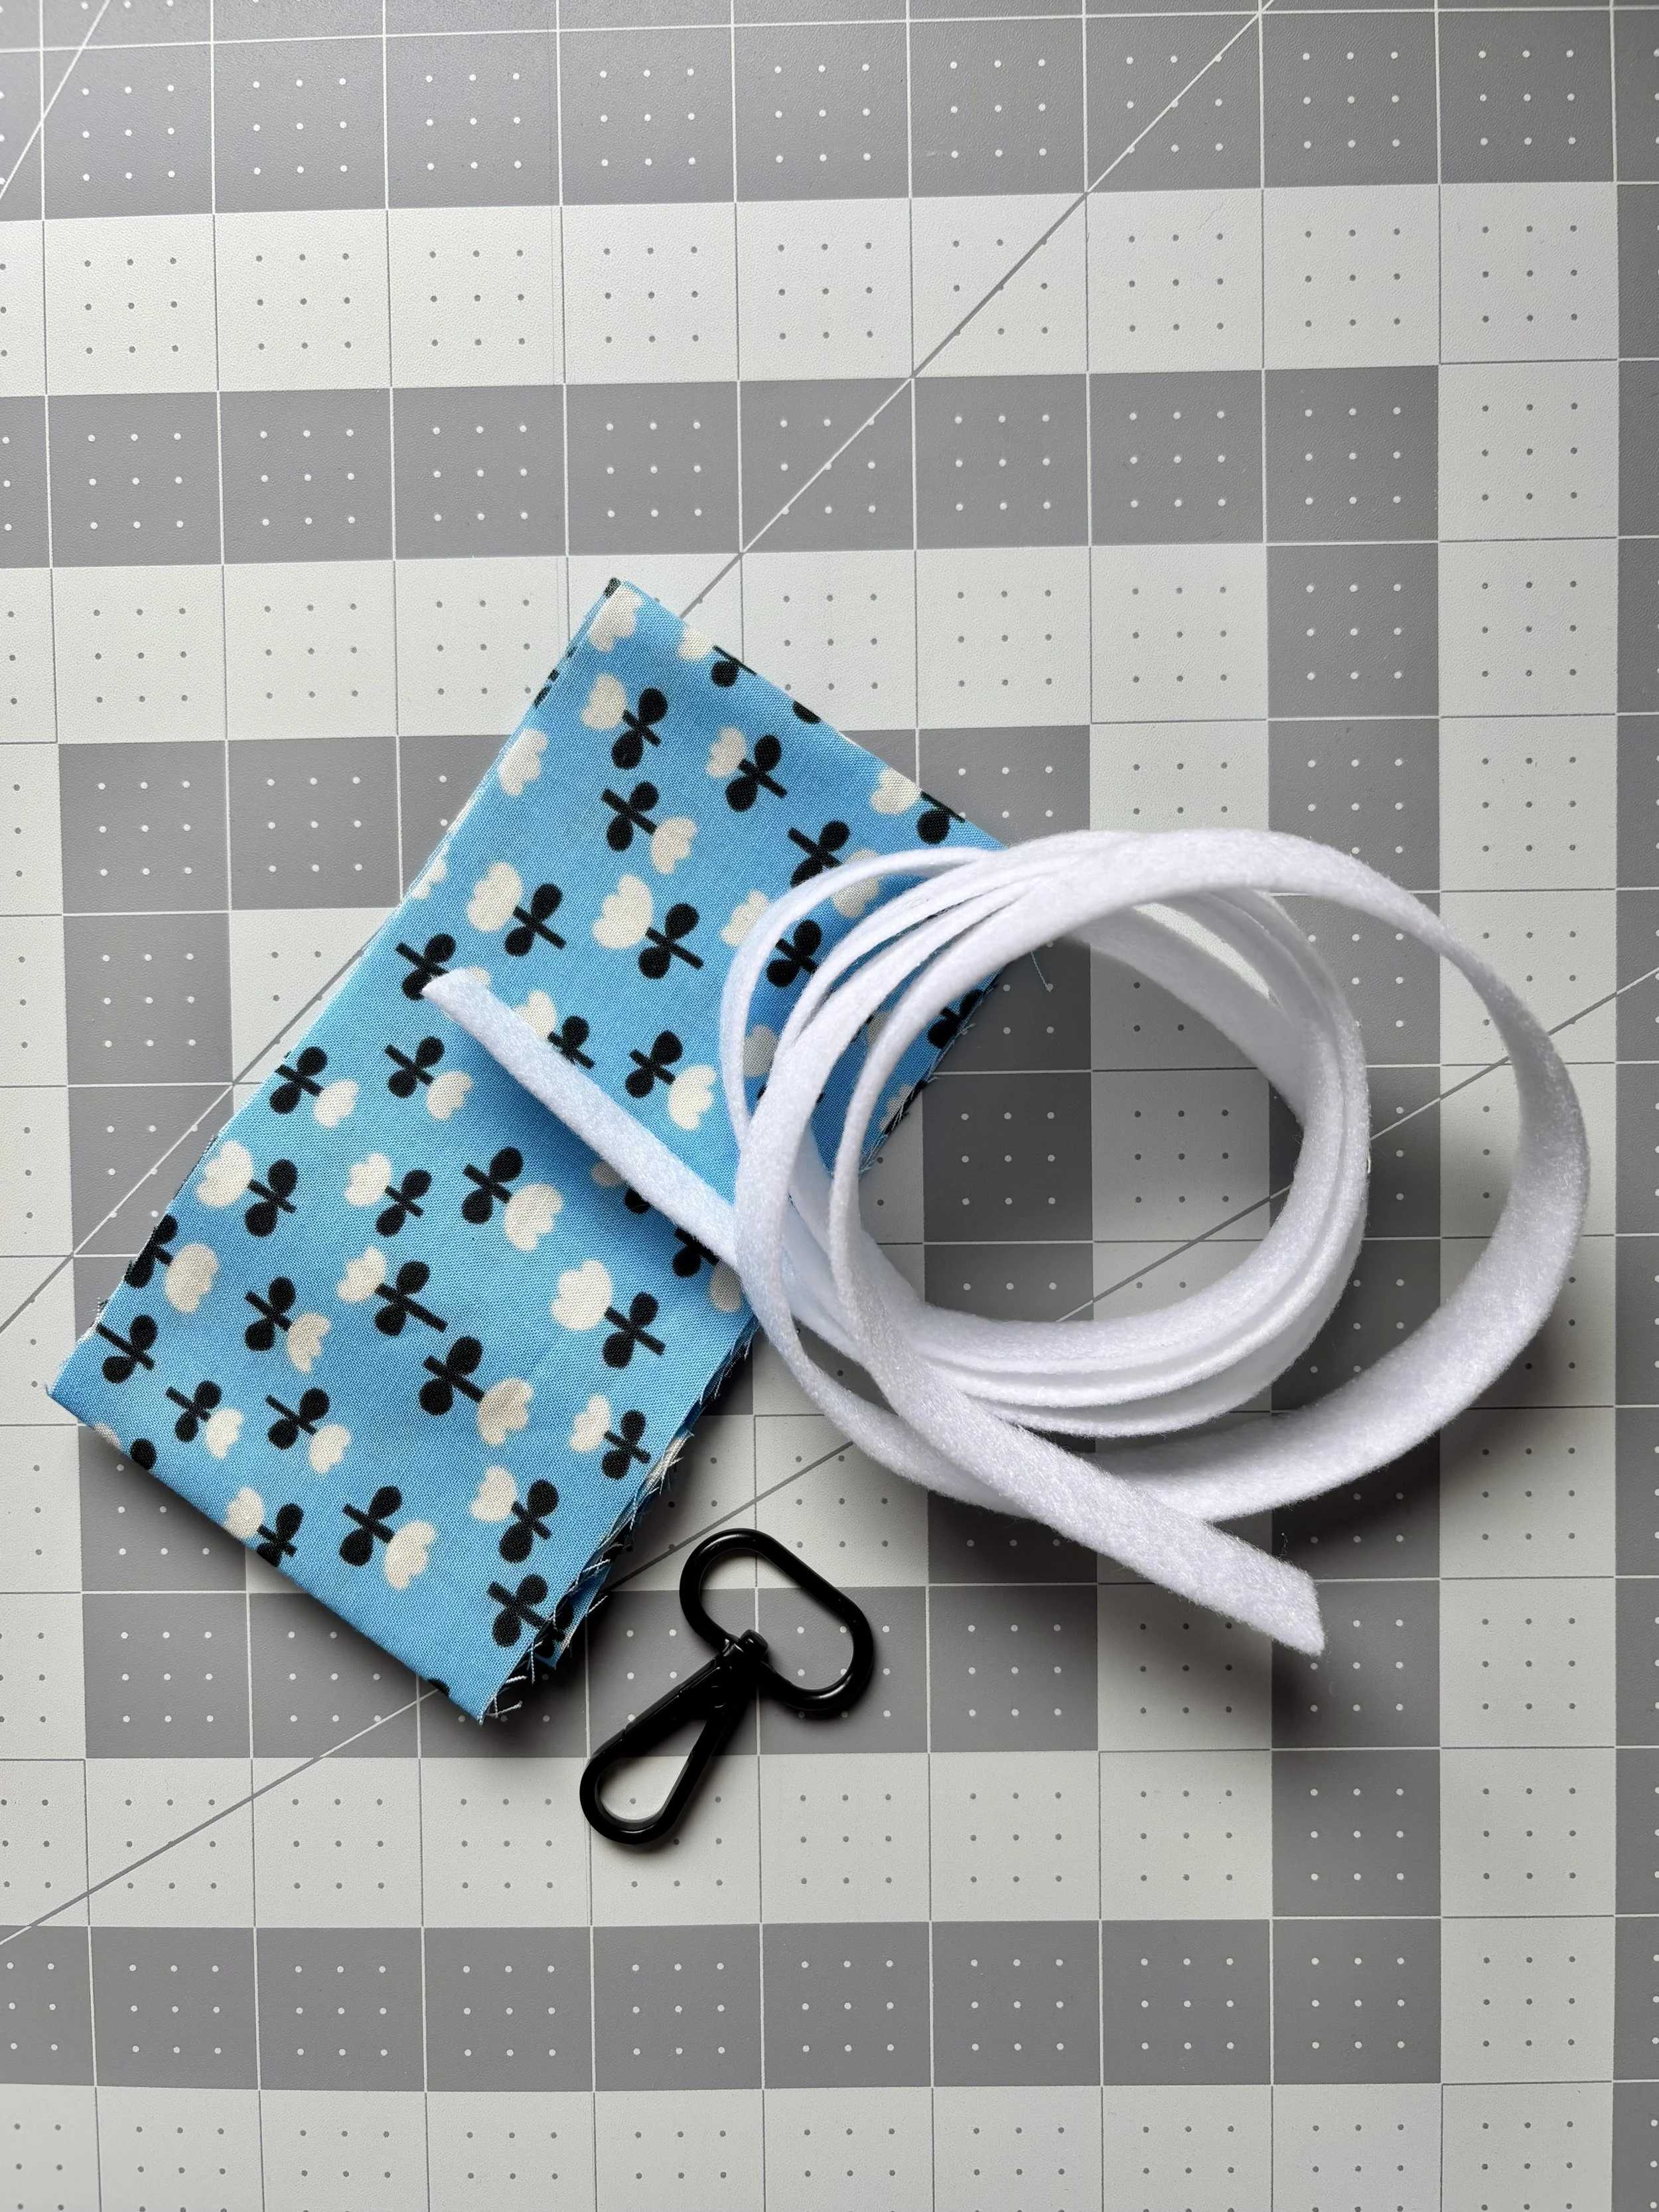
What you’ll need:
3” x 36” piece of cotton fabric (I used Ruby Star Society fabrics from various collections)
⅝” x 35” piece of fusible fleece
A 1” swivel hook hardware piece
General sewing notions (sewing machine, rotary blade, cutting mat, ruler, pin/clips, cotton thread, iron, zipper foot etc.)
Step-by-step instructions
Prepping your fabric
Begin by ironing your fabric piece. Fold fabric in half lengthwise, wrong sides together. Press.
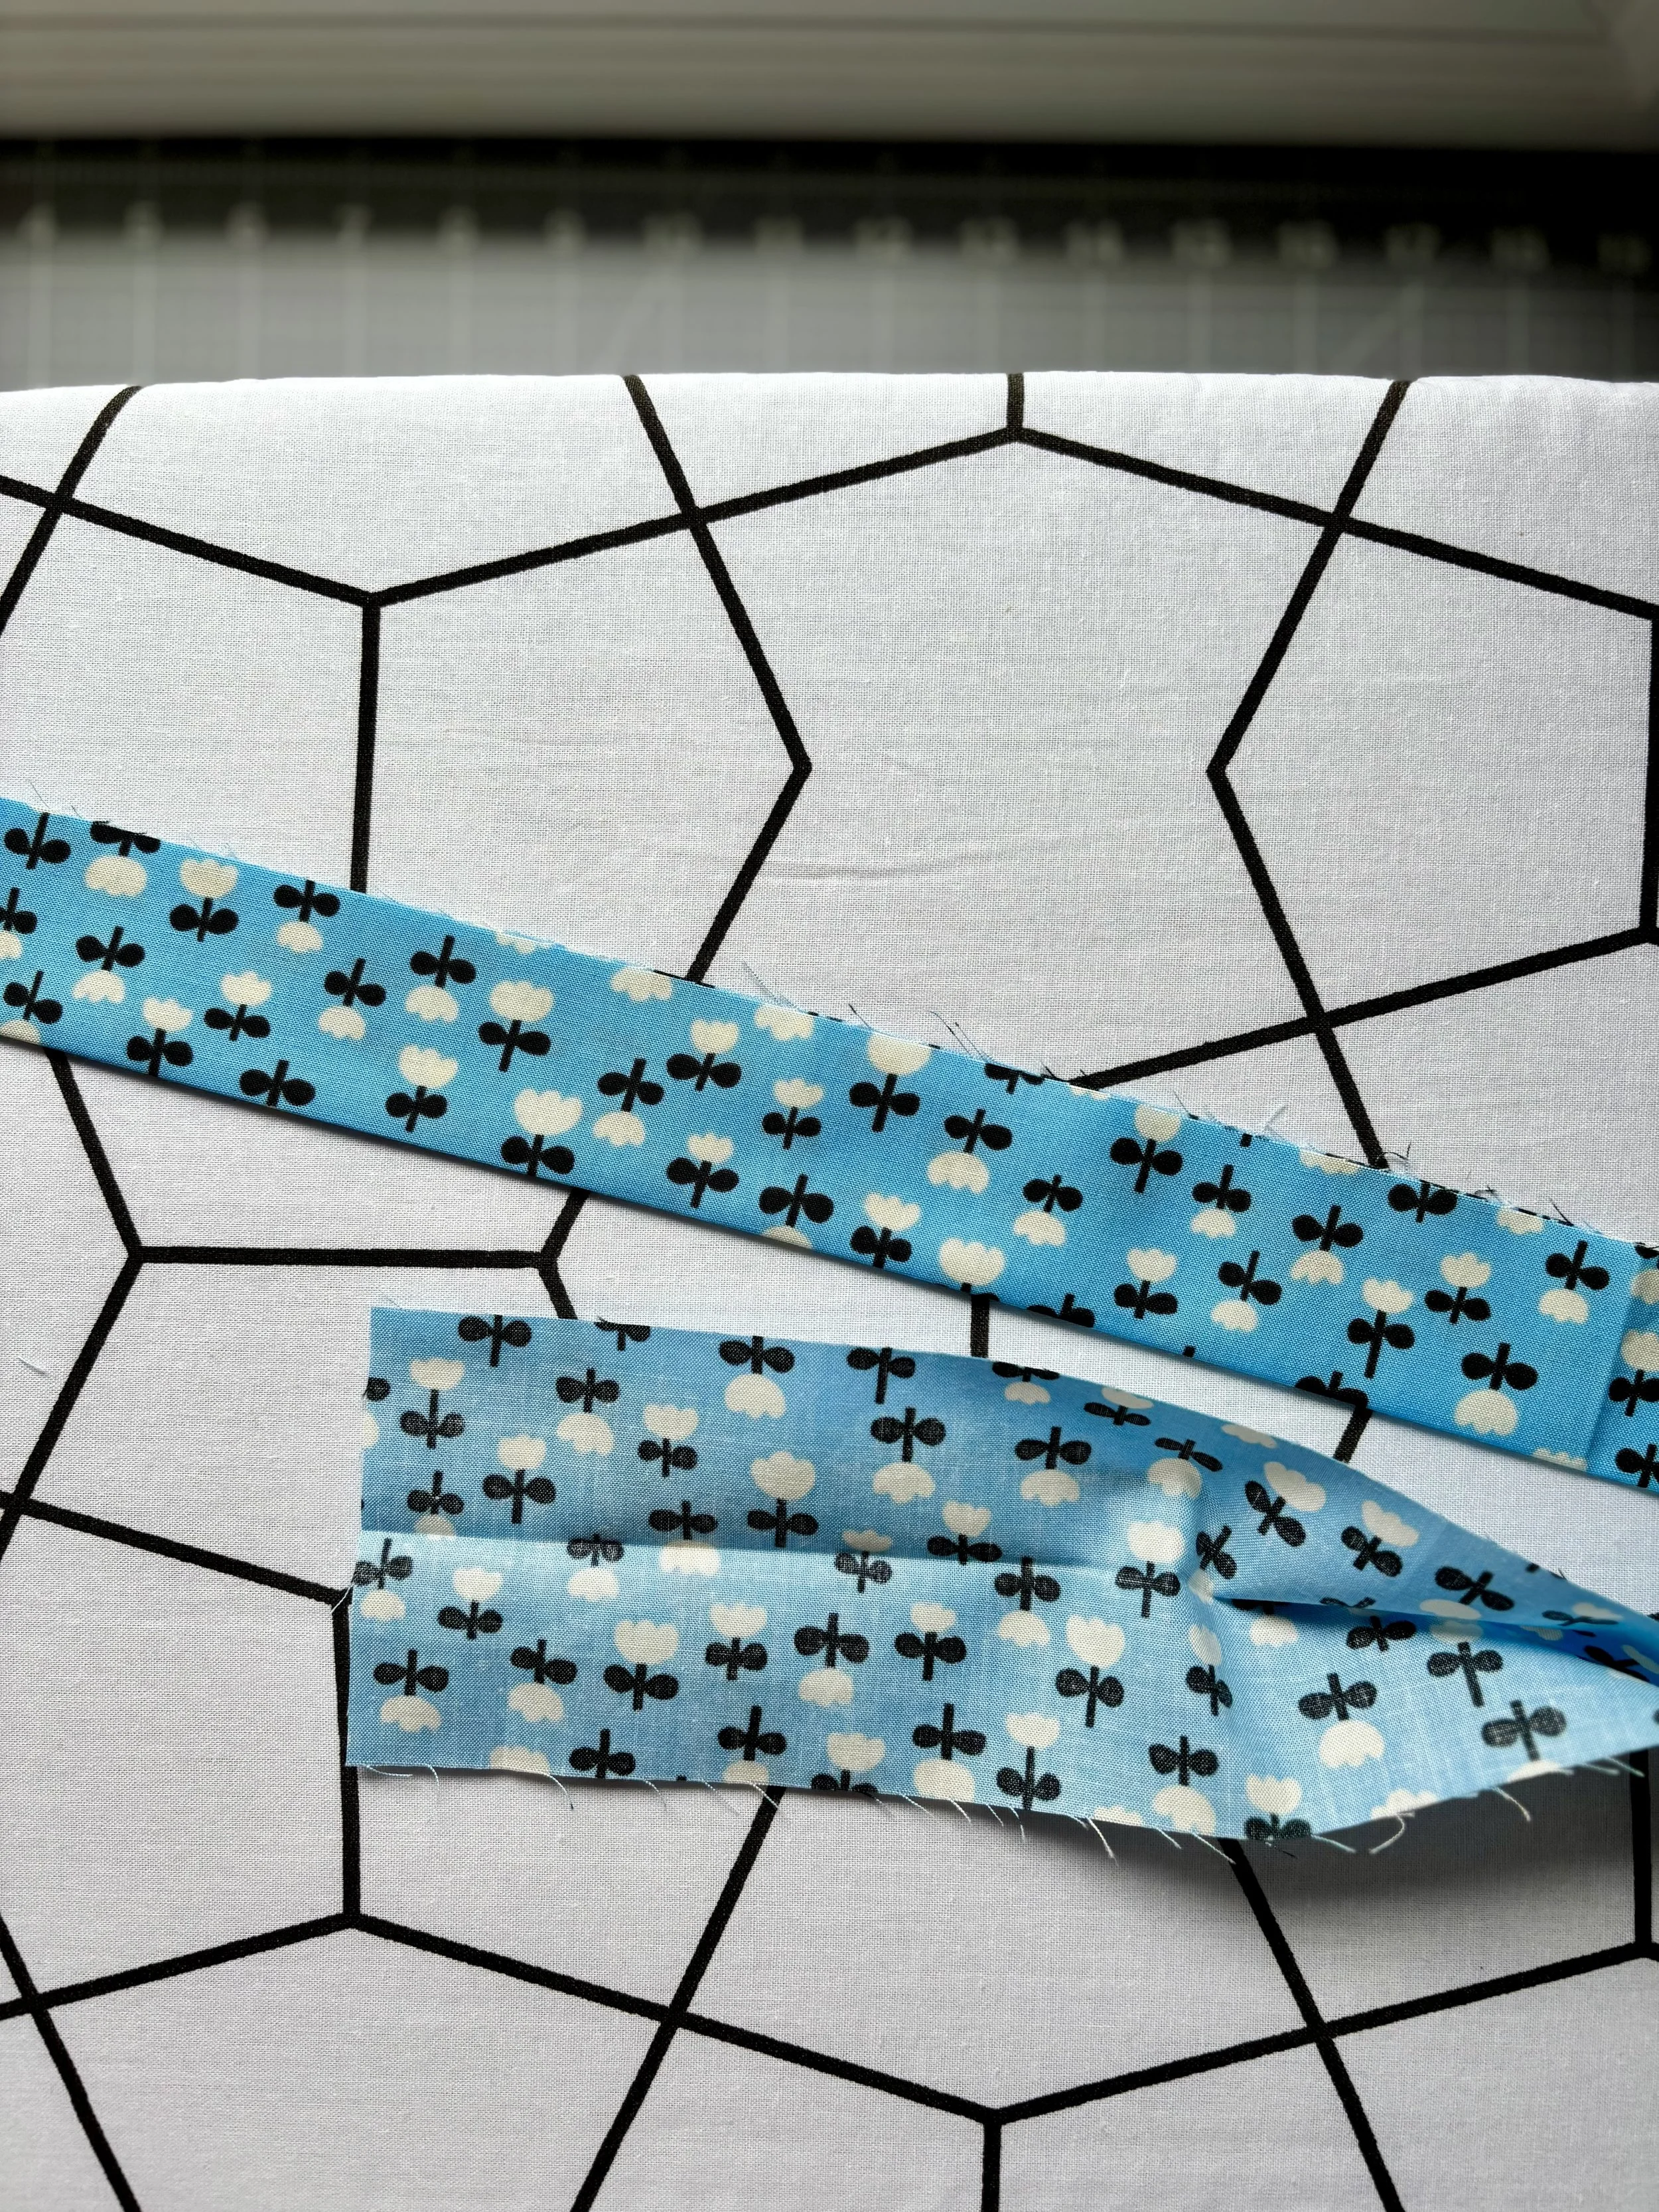
Open fabric, use the newly pressed centerline as a guide. Fold both sides of fabric inward to meet the midline and press.
Unfold fabric.
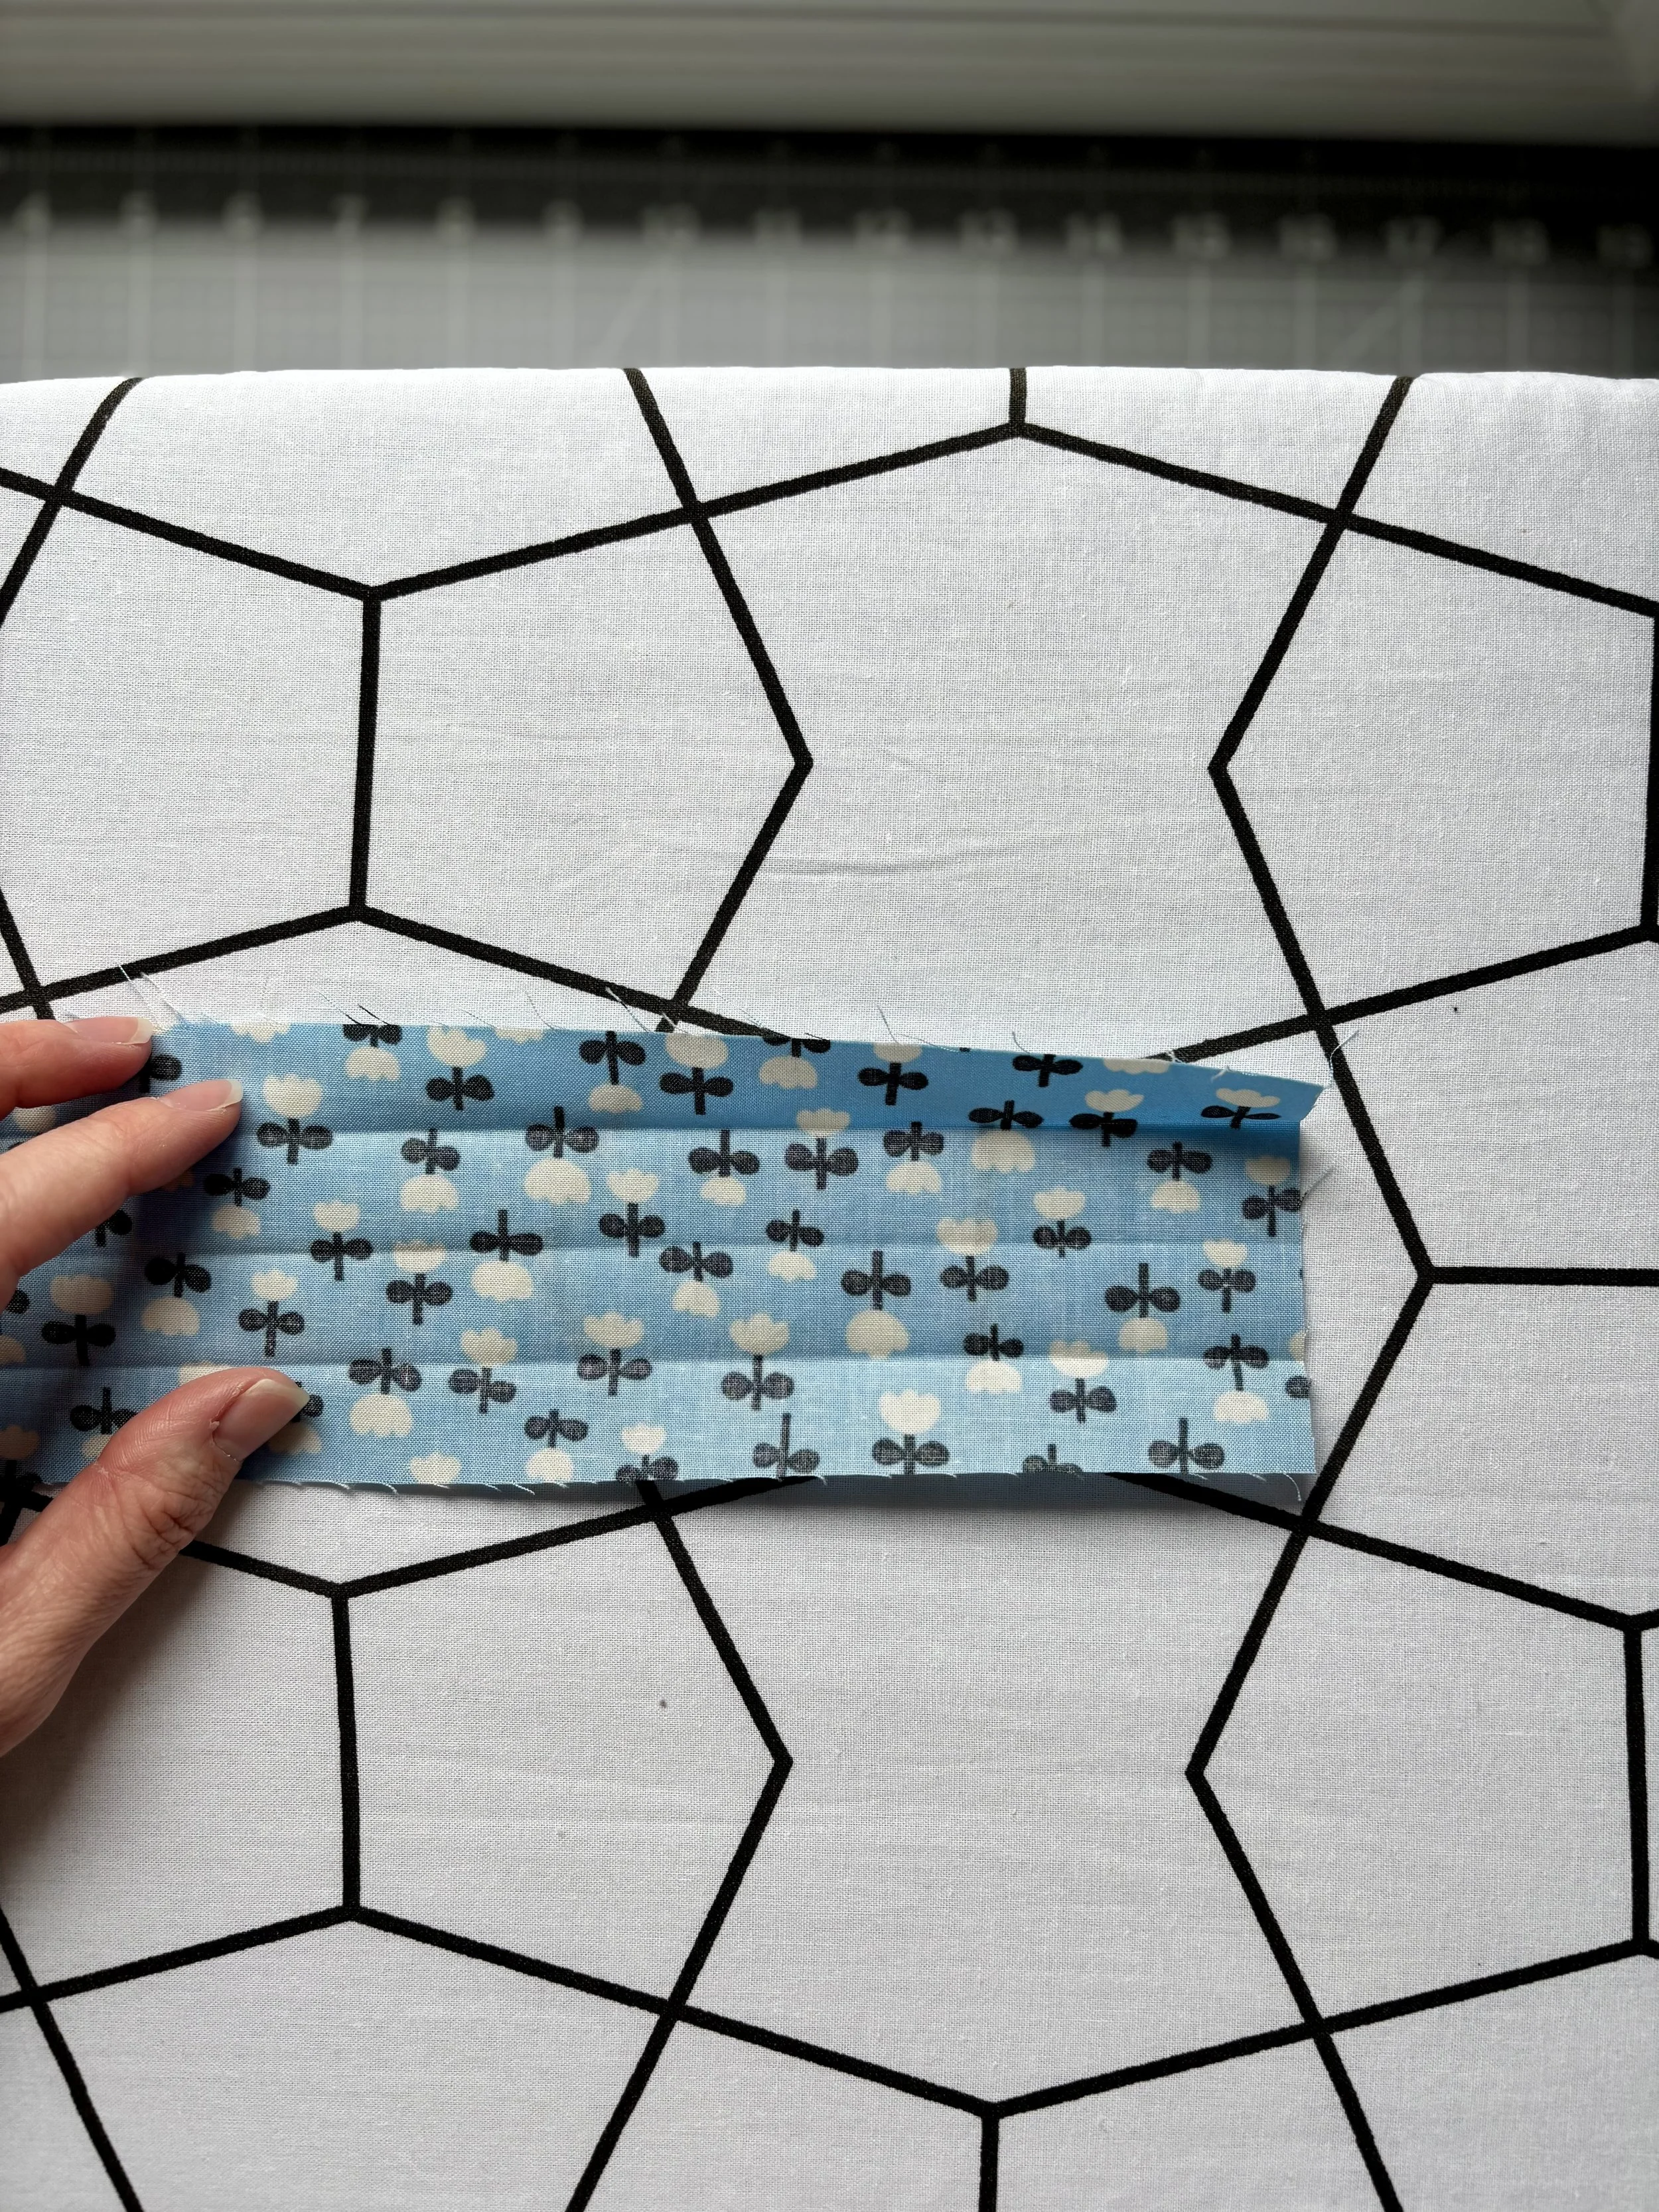
Adhere the fusible fleece to fabric with iron, following the manufacture instructions. Attach fusible fleece below the middle pressed line. Leave it a ½” shorter on either side, to reduce bulk at the seam.
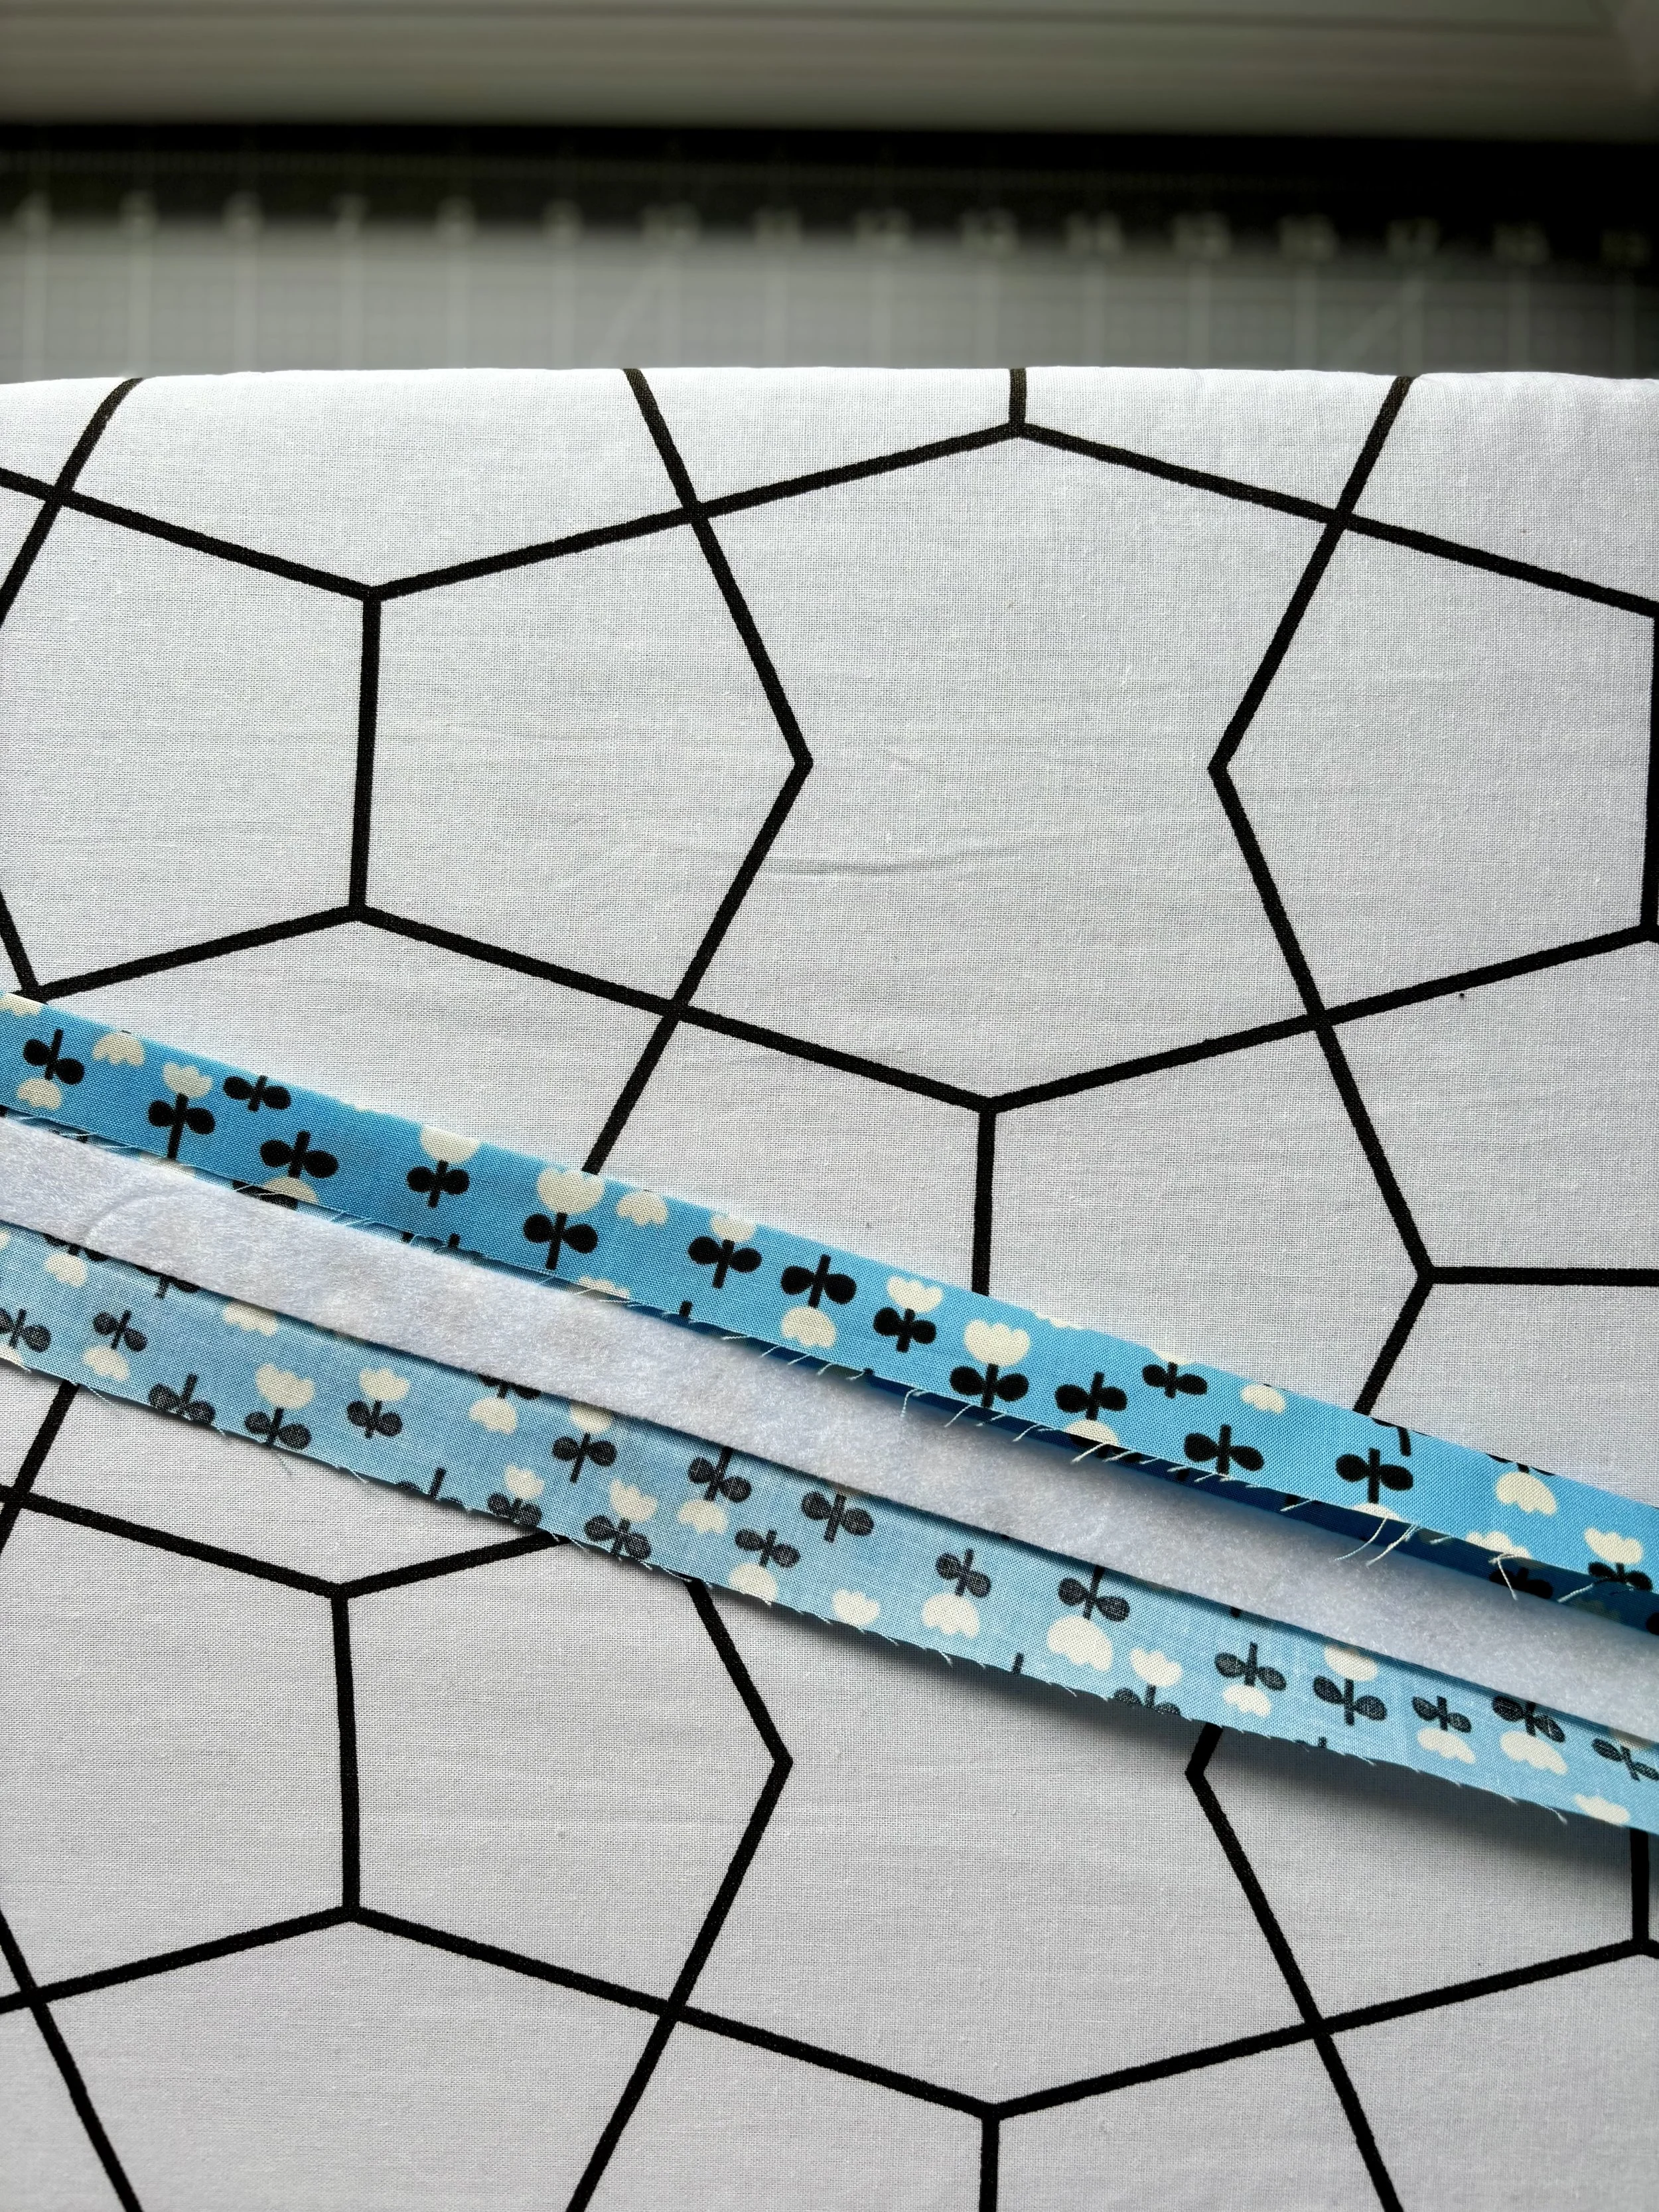
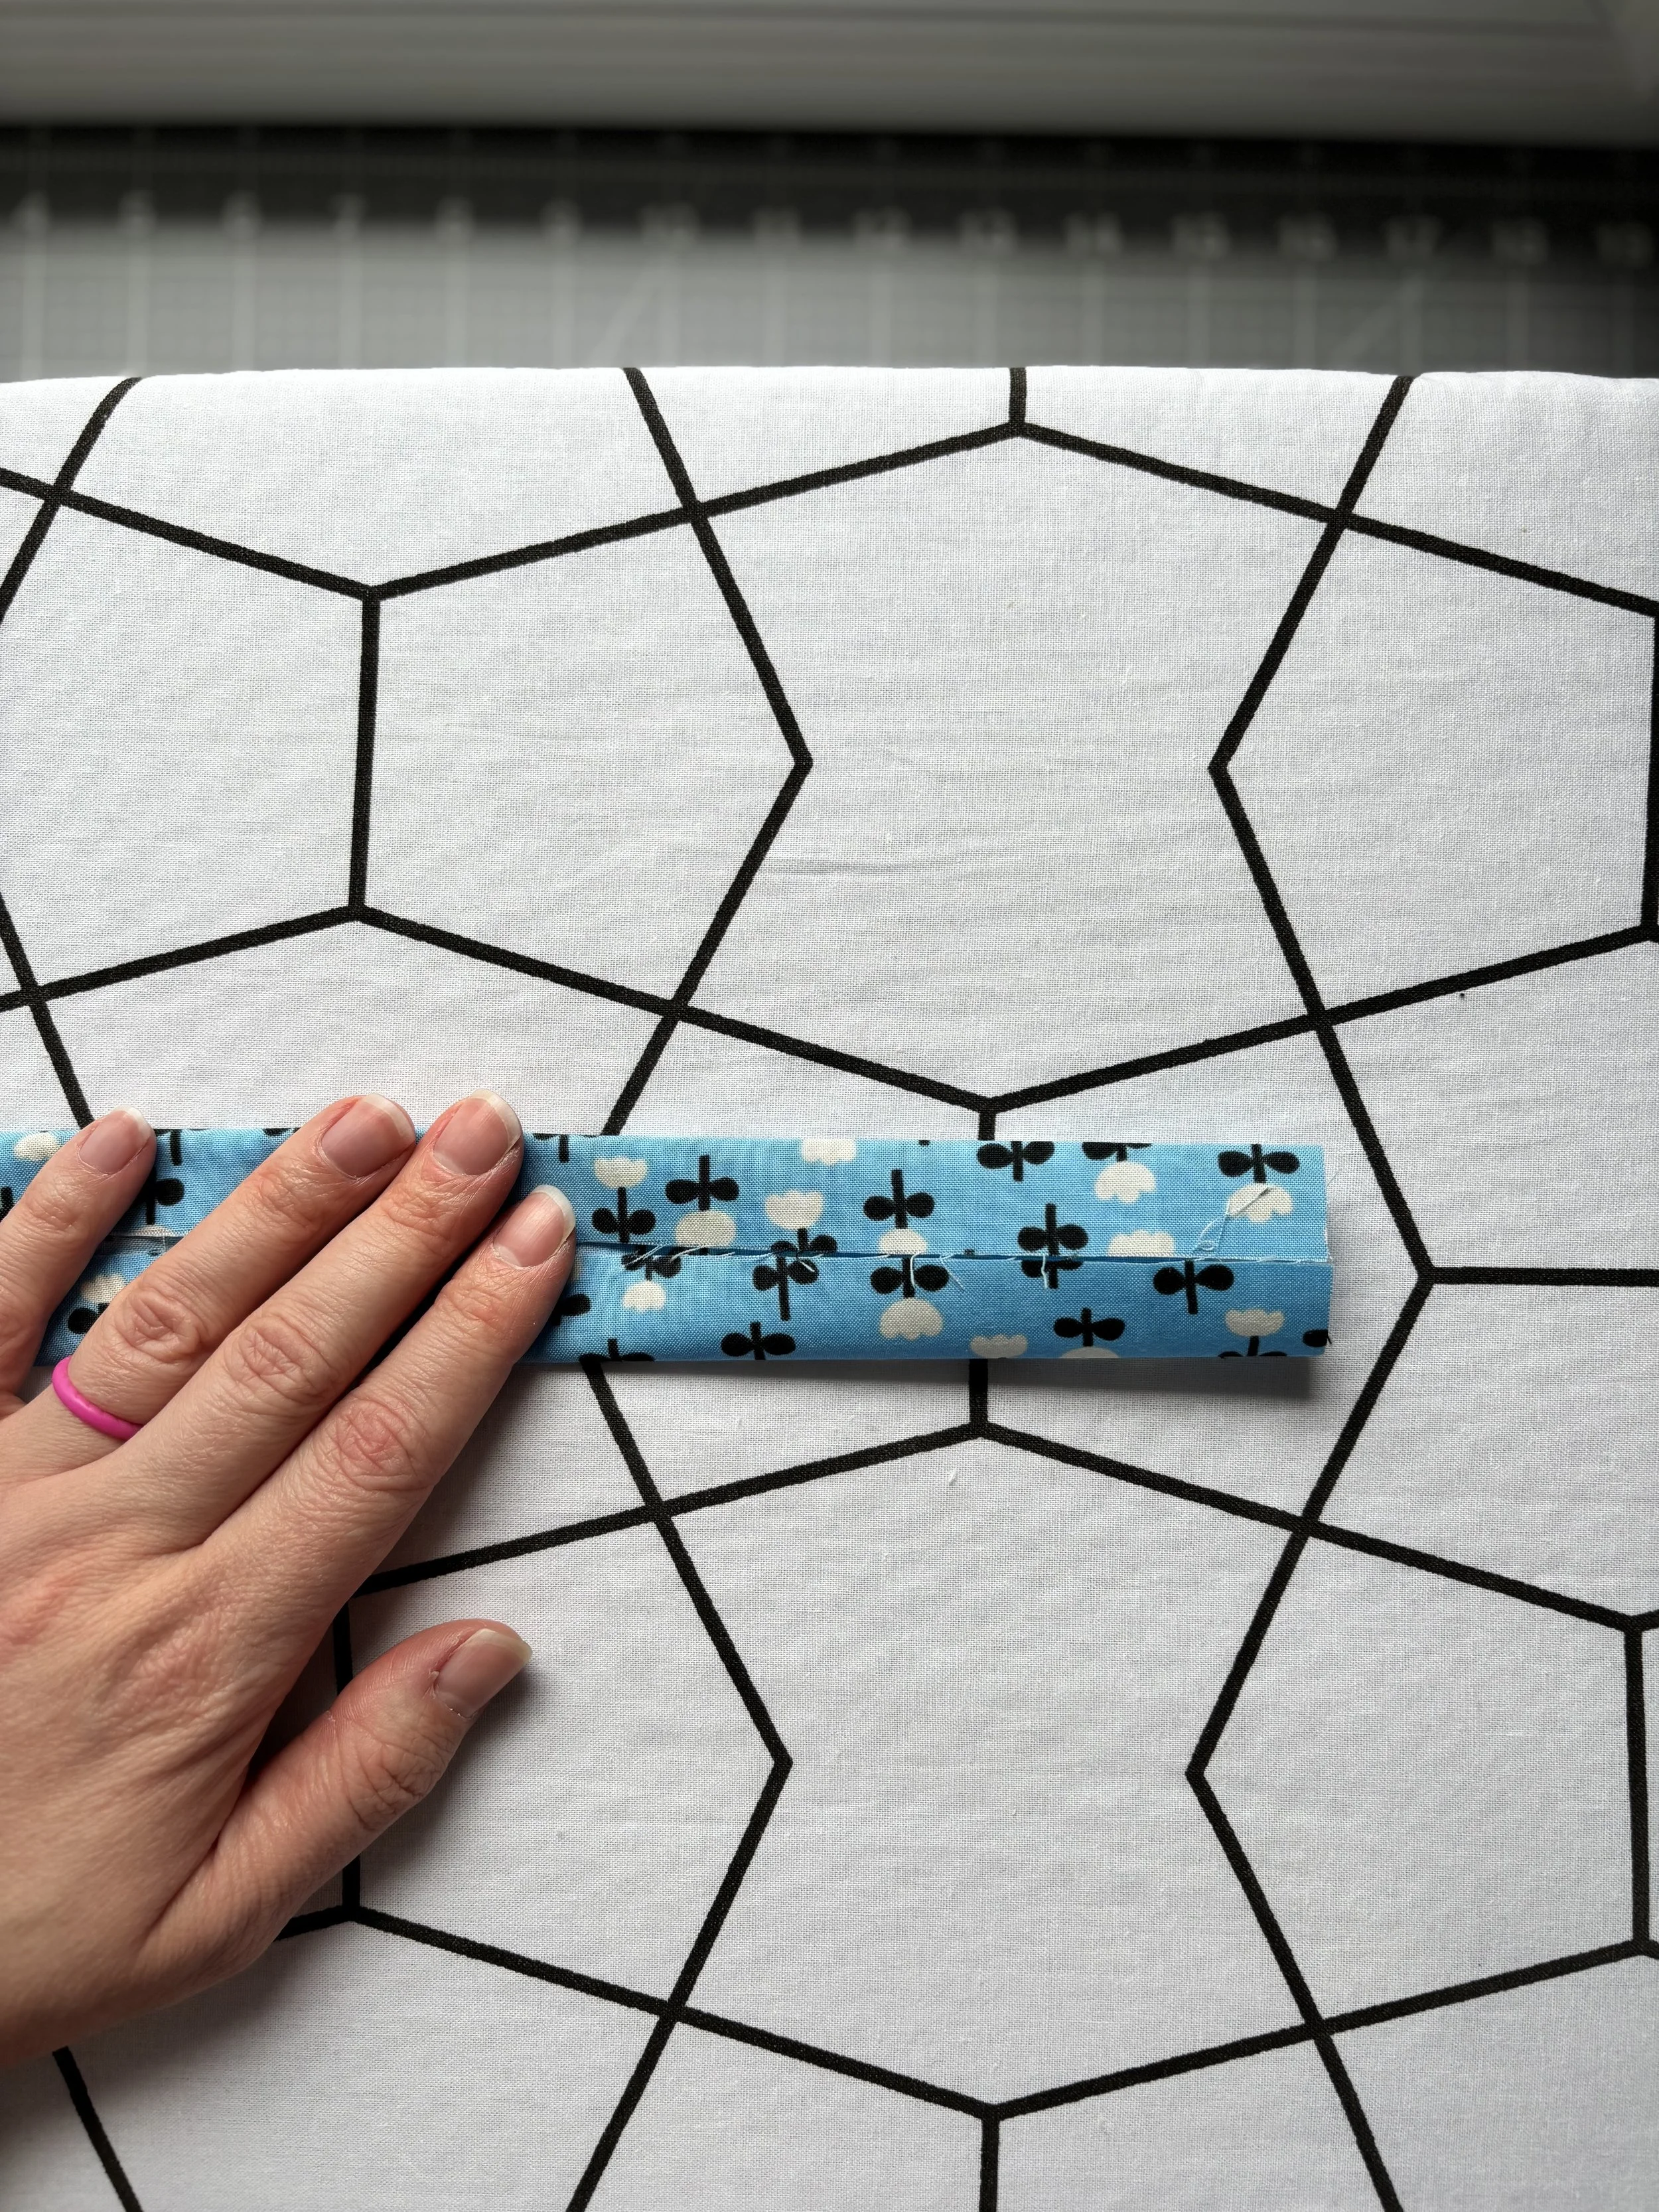
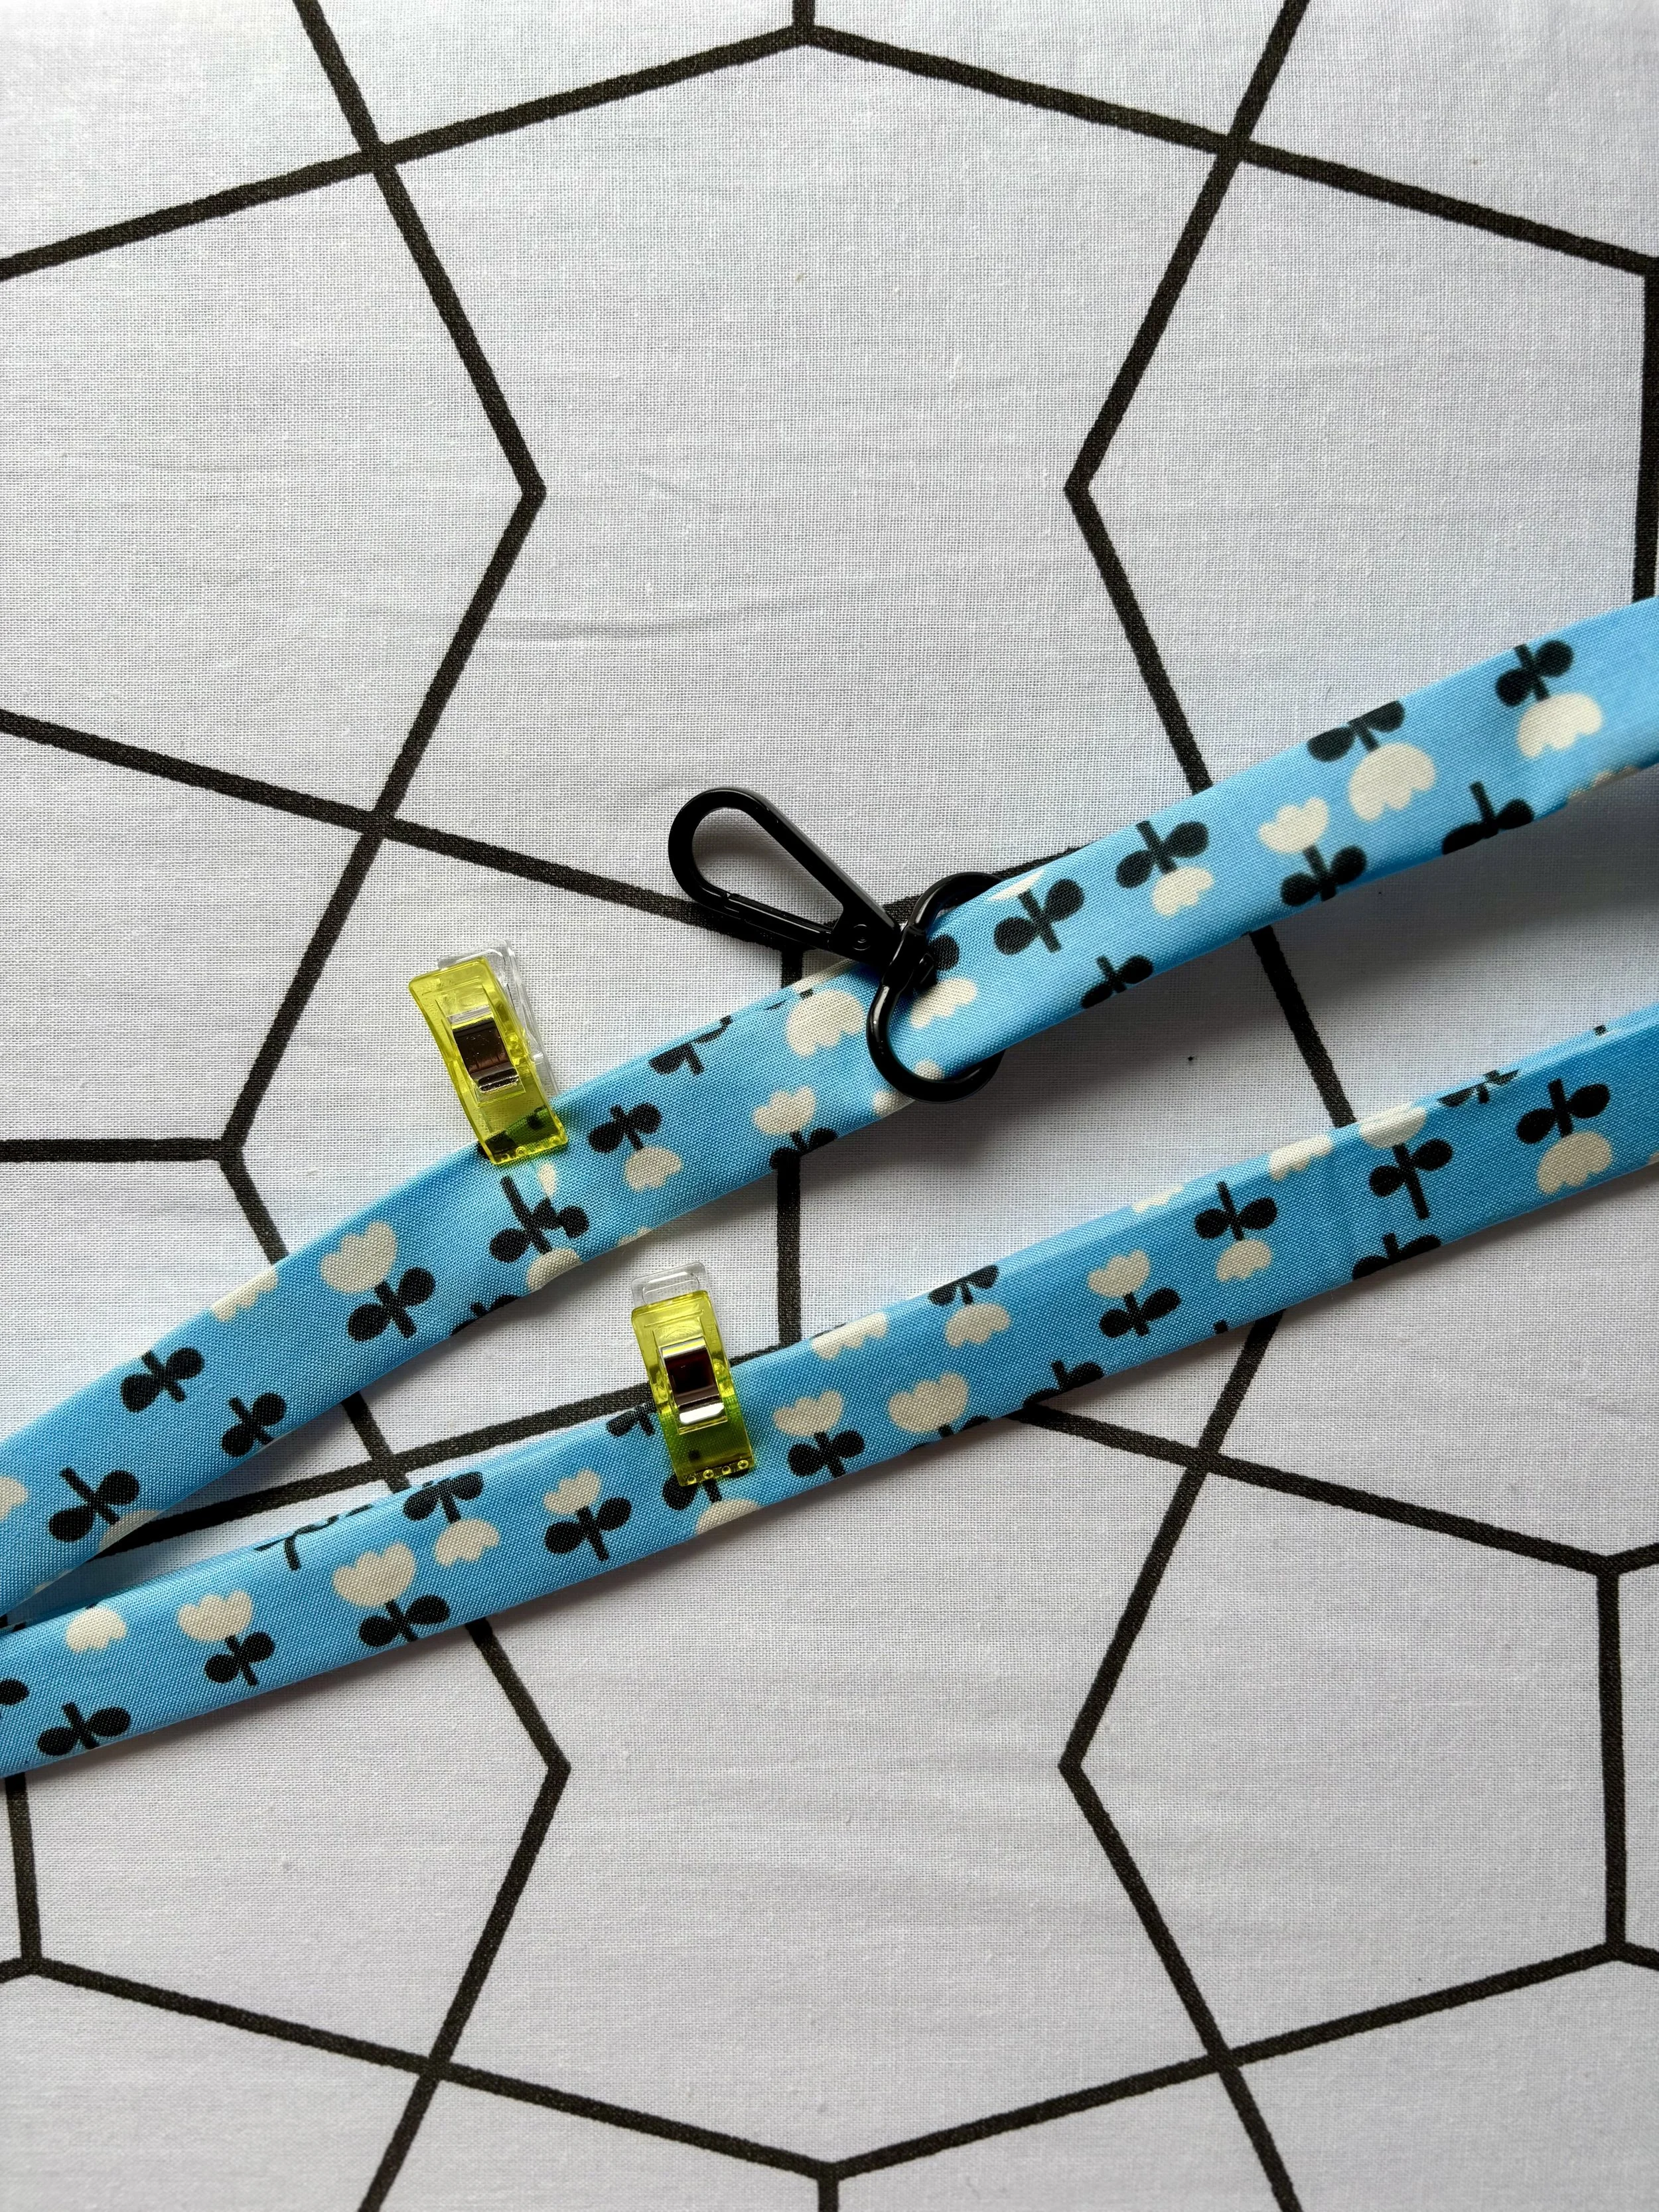
Refold both the top and bottom back towards the middle to meet. Then fold in half. You will now have all the raw edges encased.
Don’t forget -- Thread the swivel hook onto the fabric.

At each end of the fabric unfold carefully. Place the right side of each end together, ensuring that the loop has not been twisted.
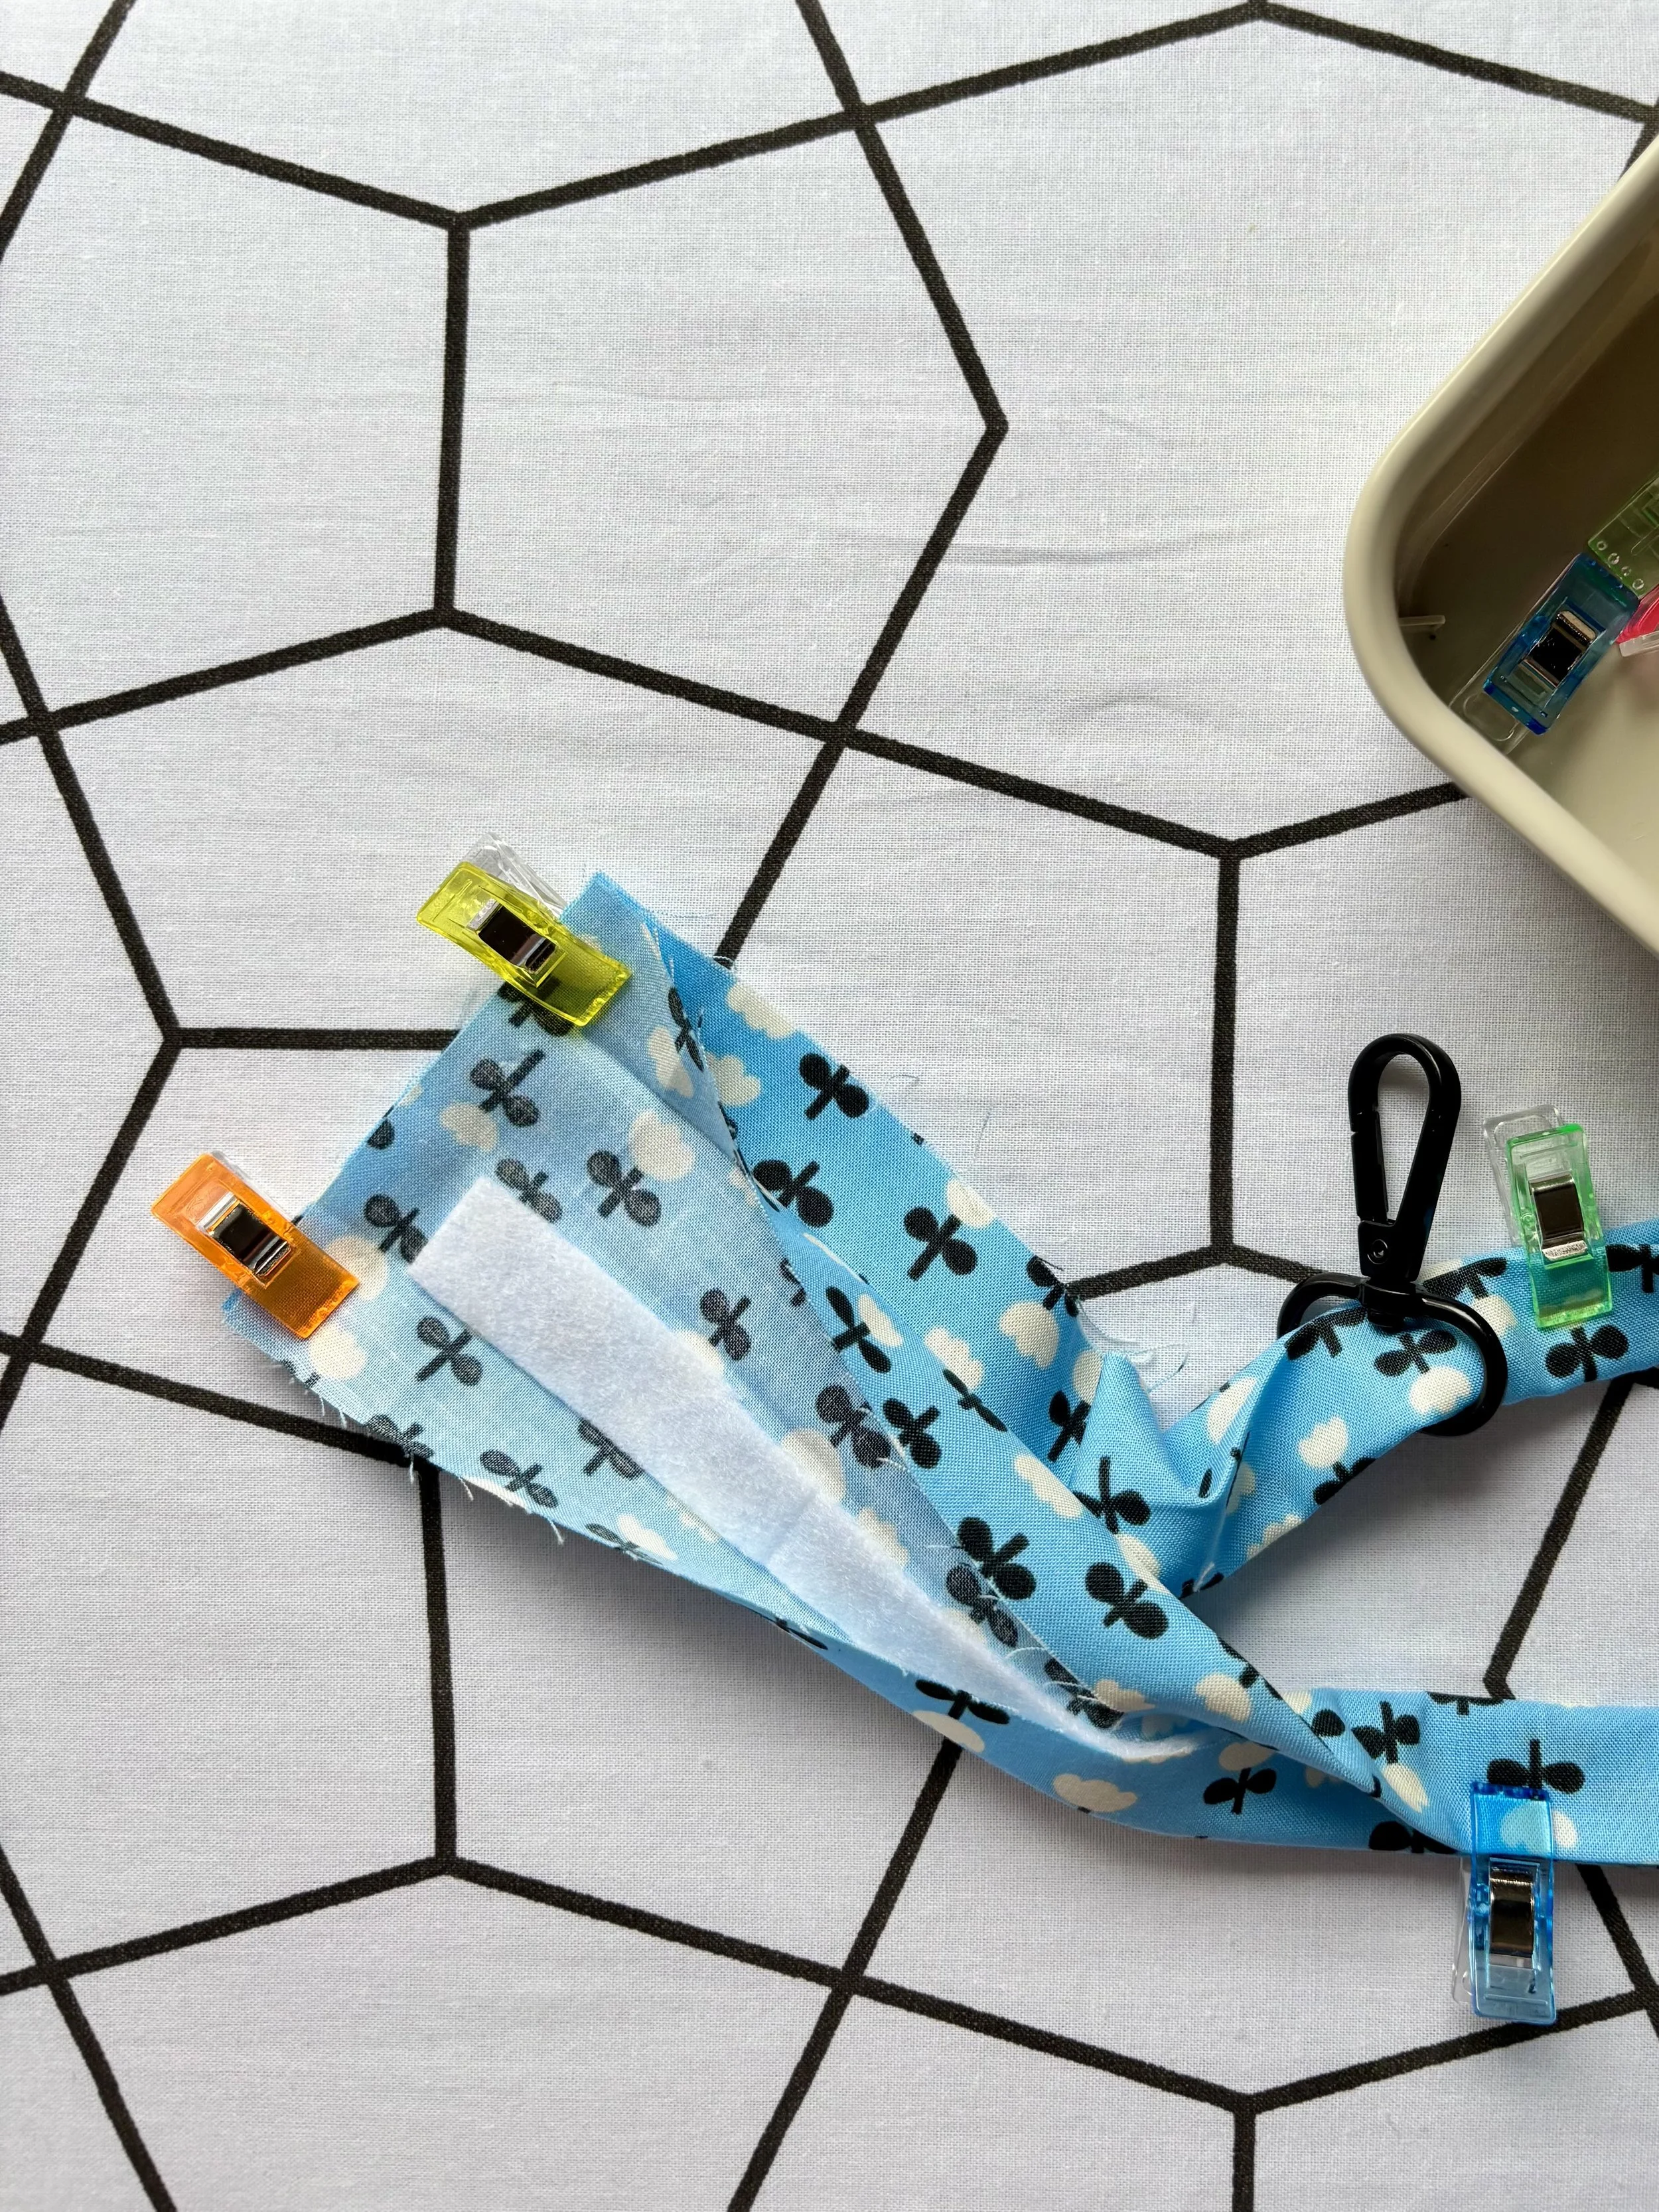
Stitch together using a ¼” seam allowance.
Finger press the seam open. Then refold the fabric together.
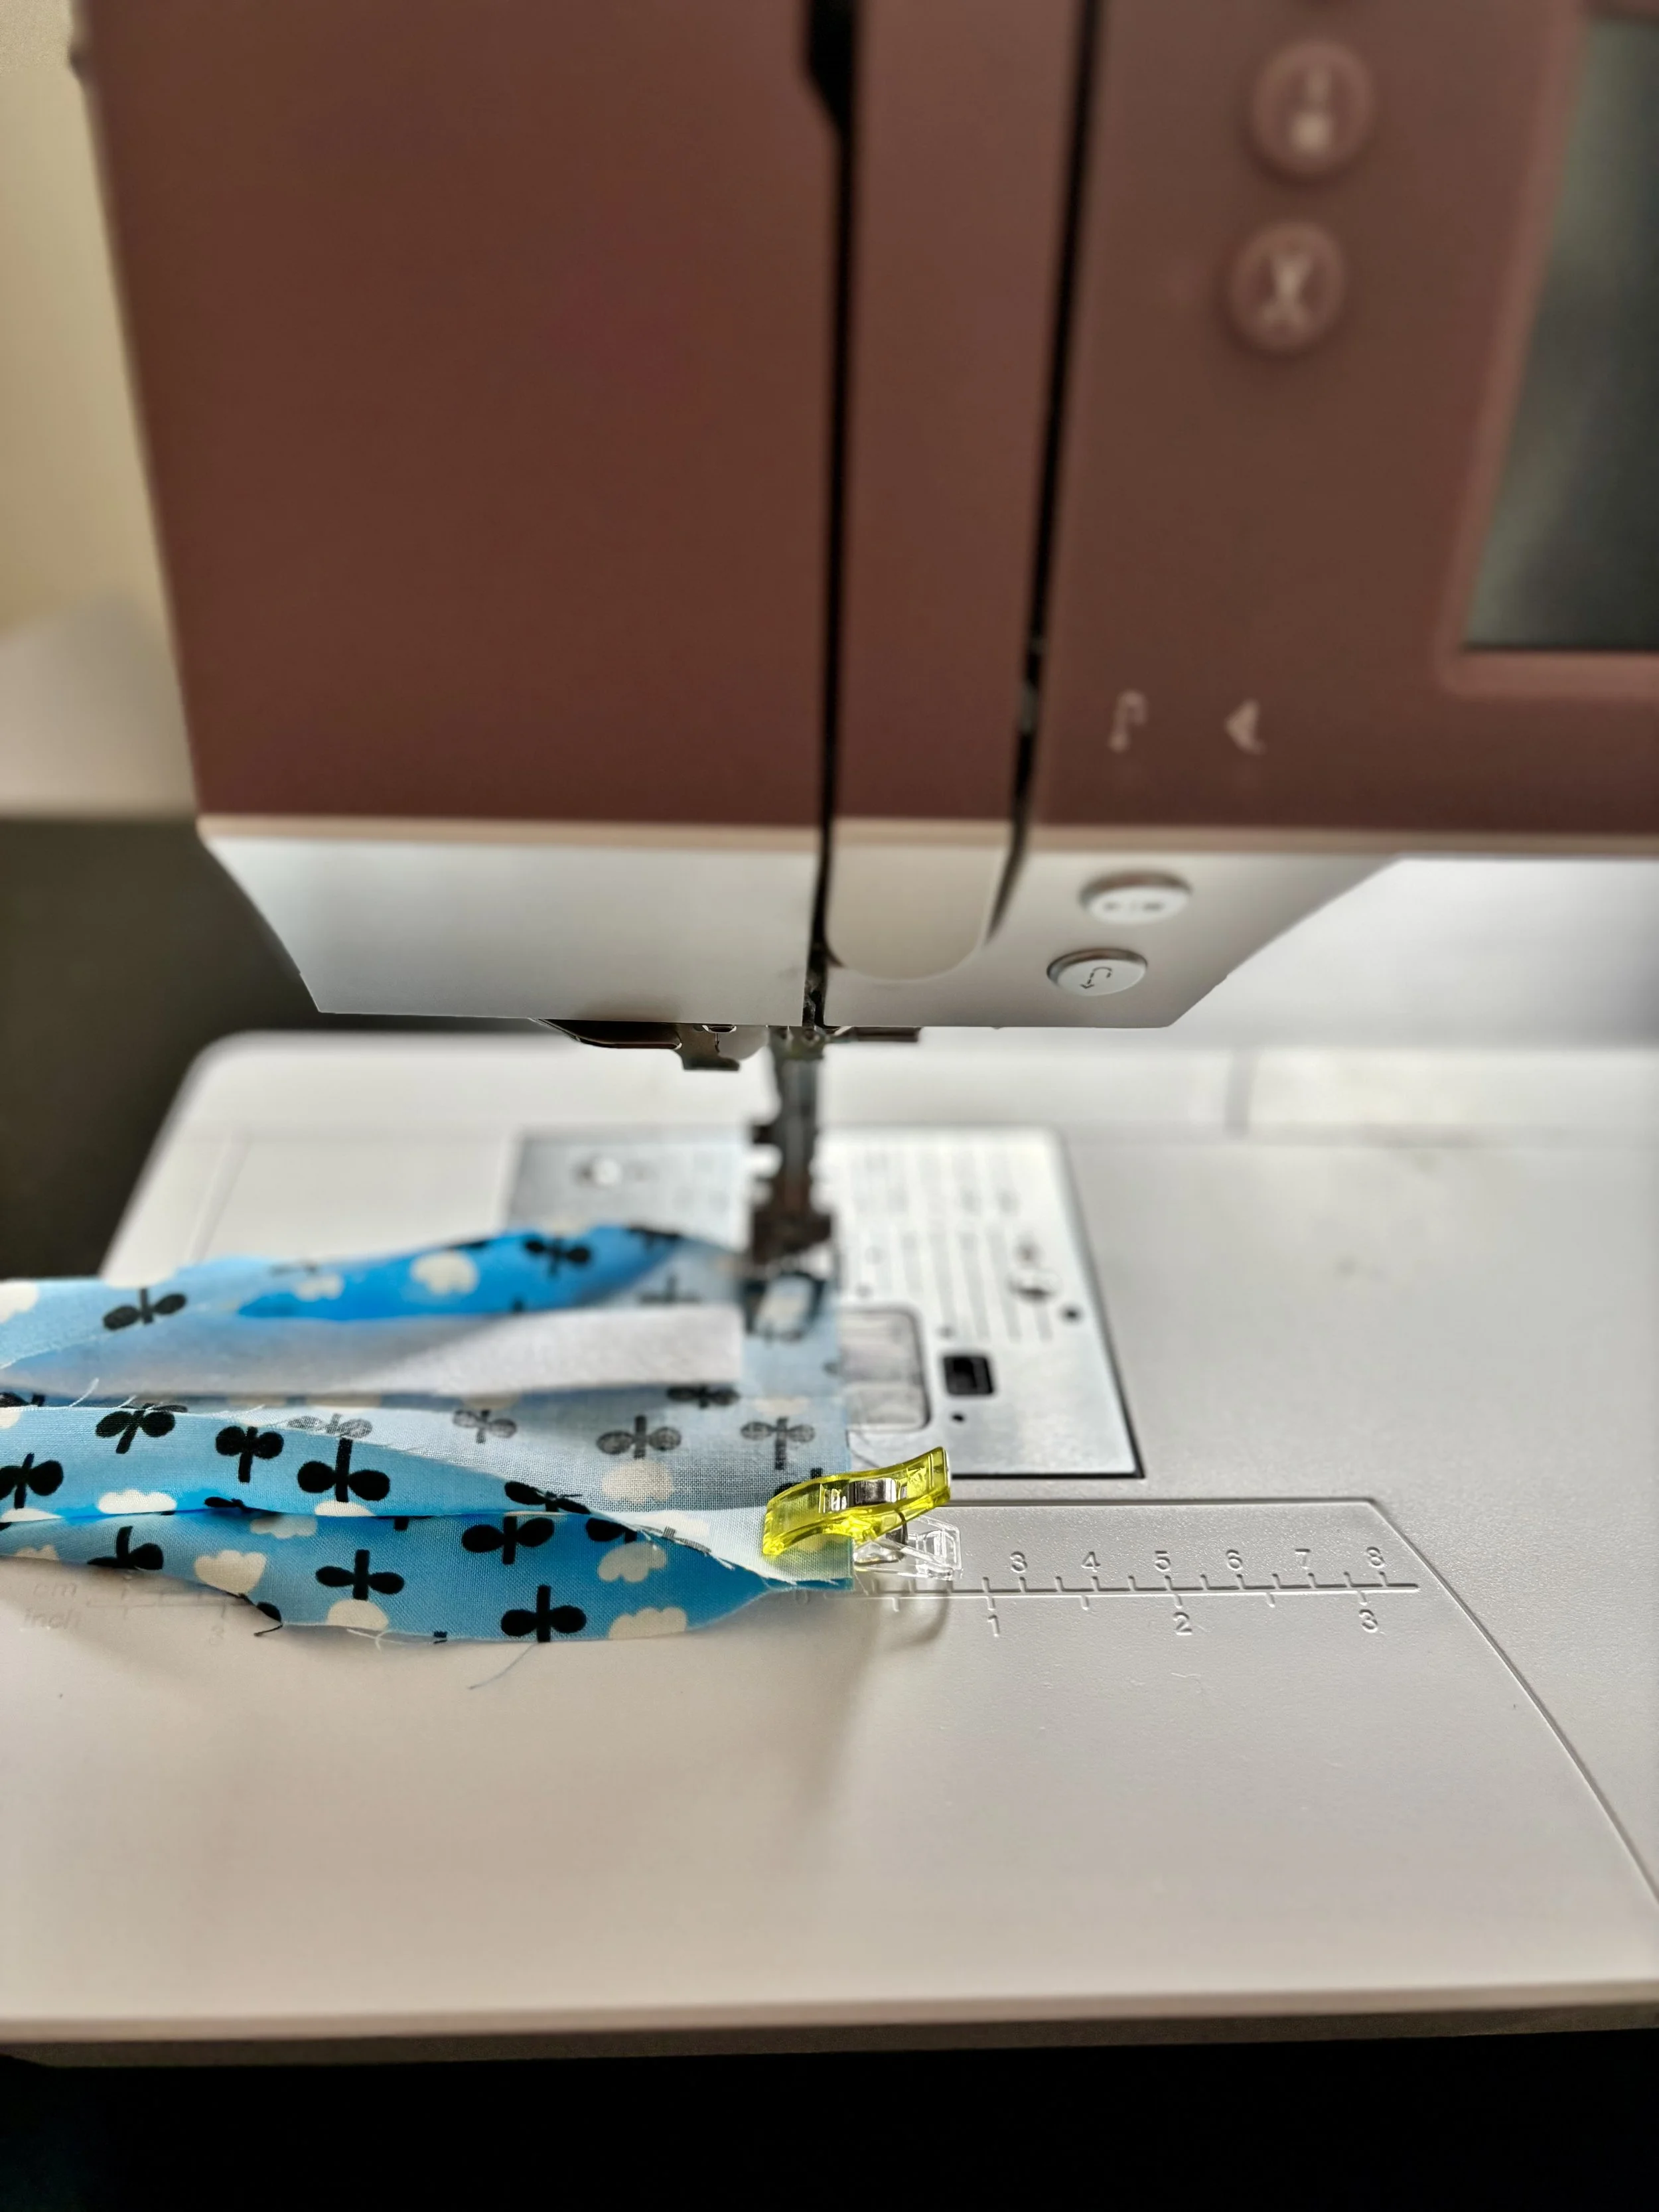
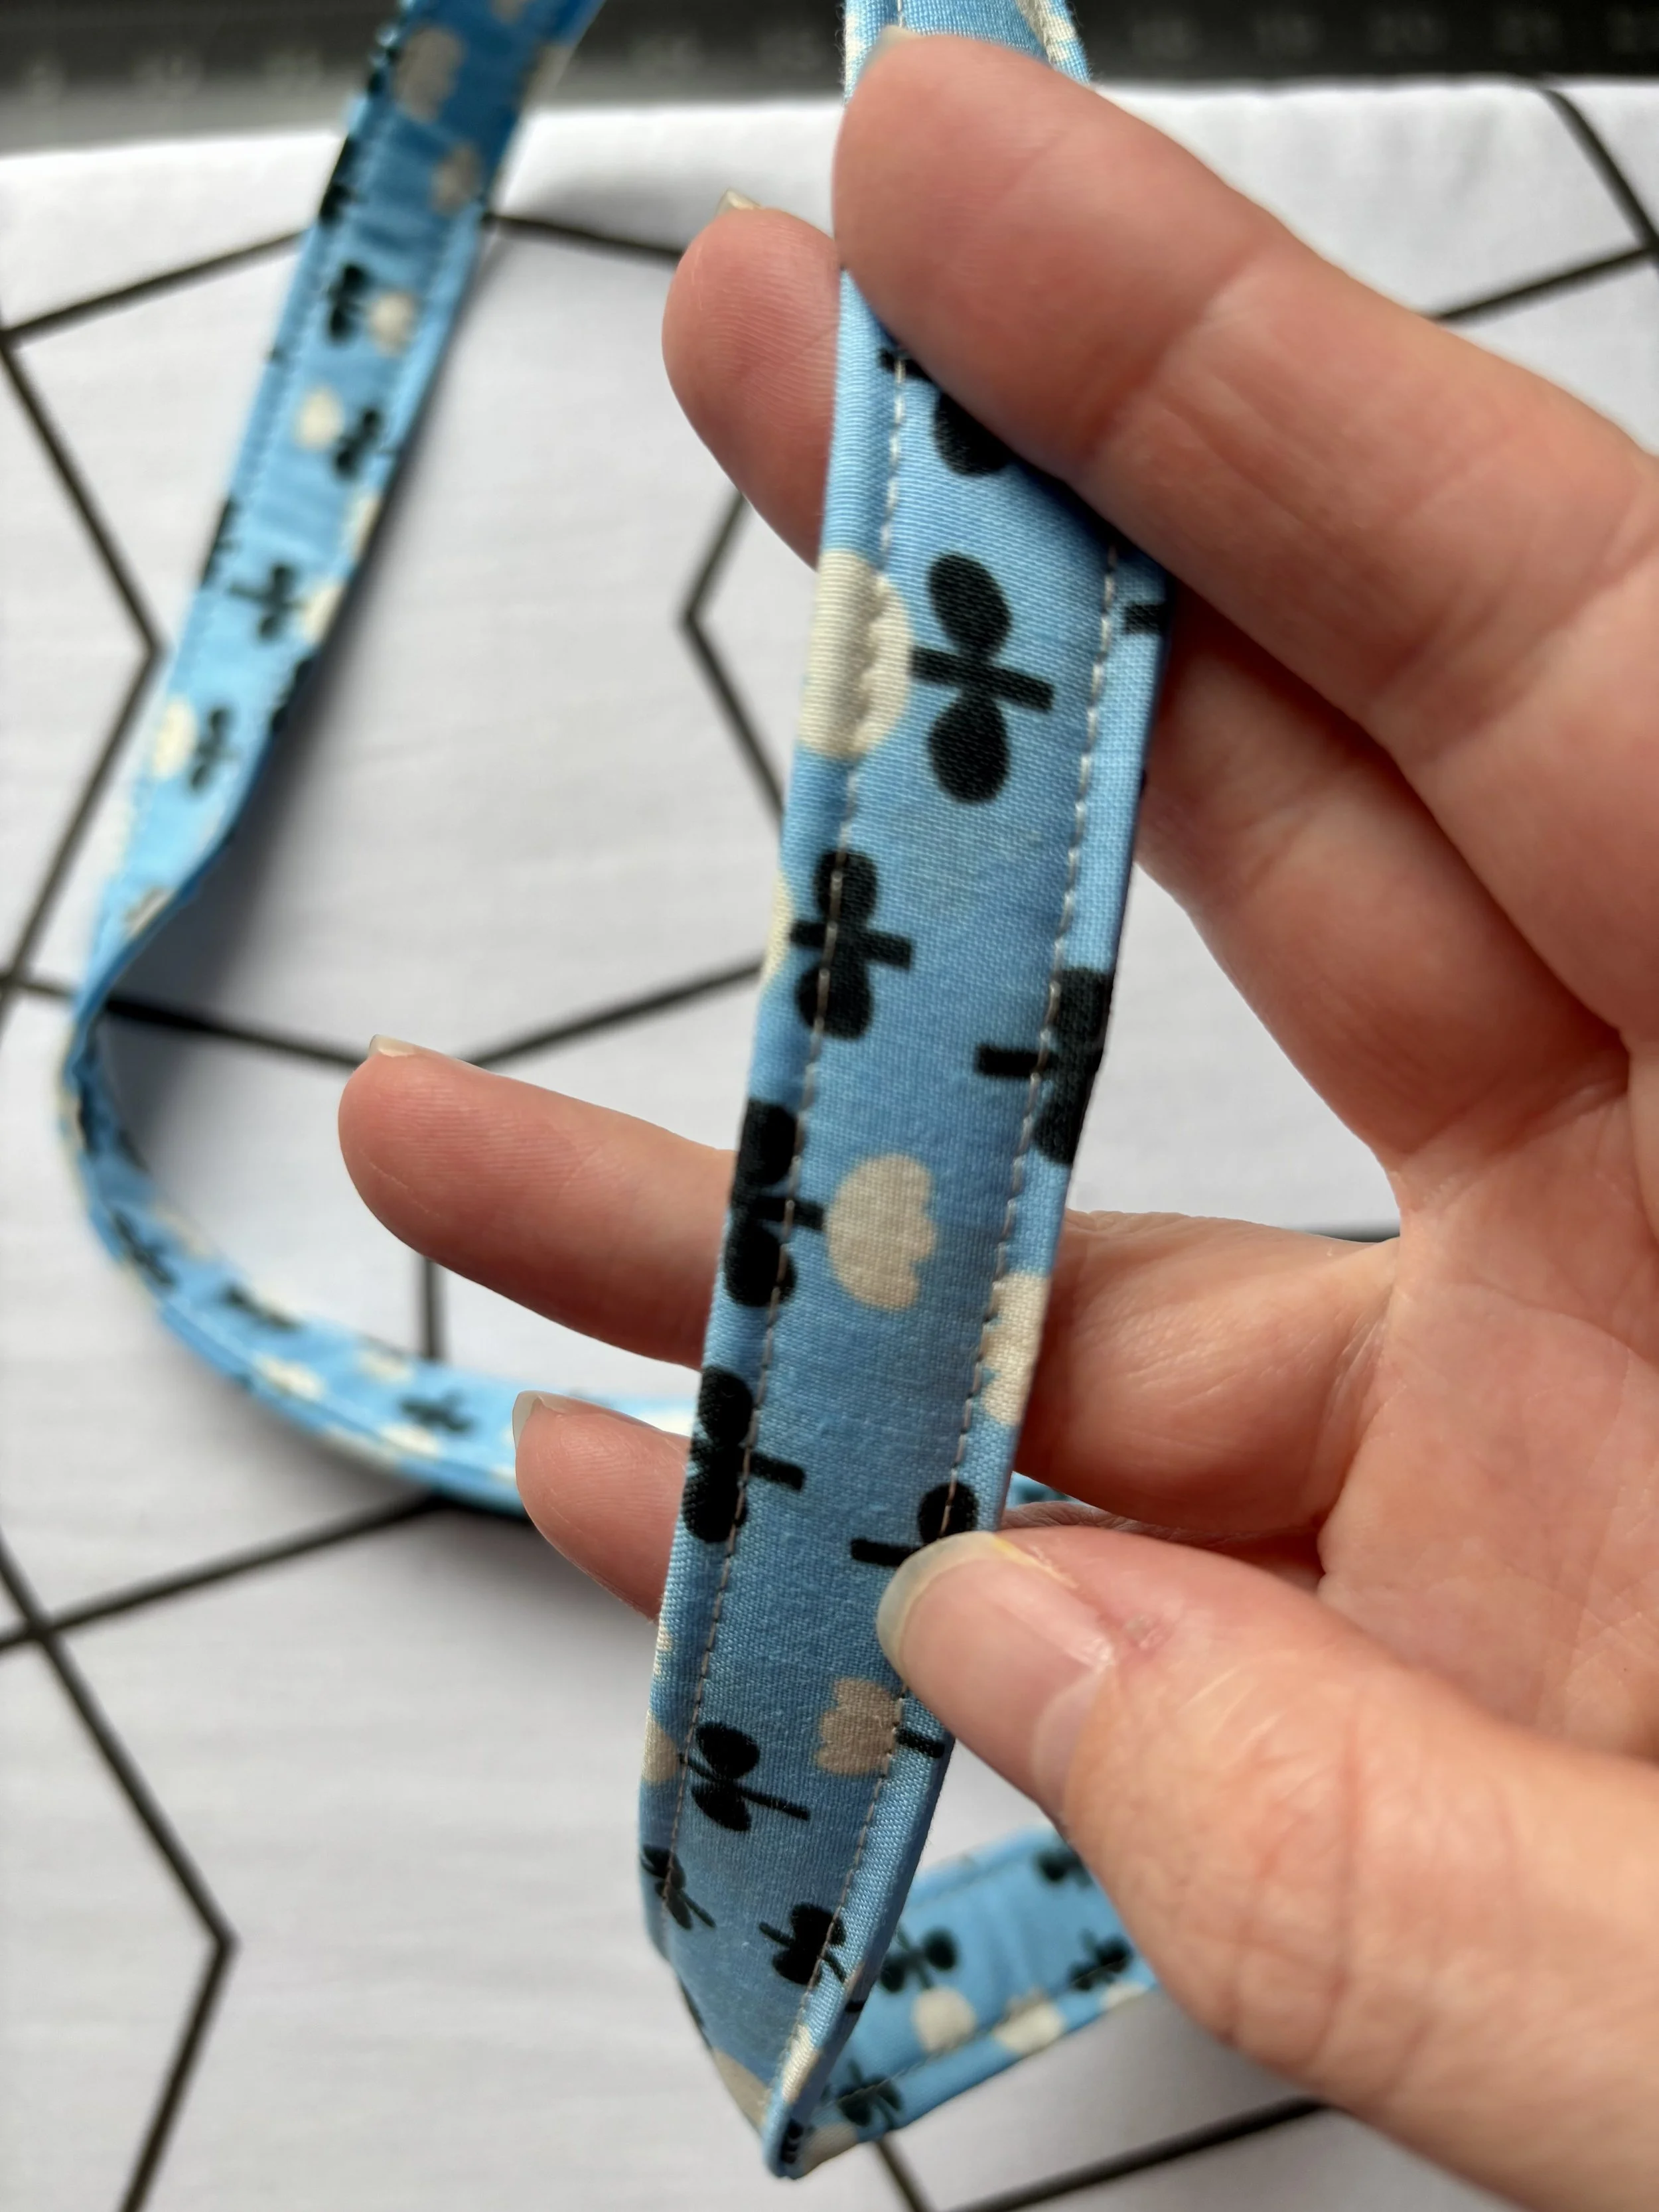
Edge stitch ⅛” all the way around each side. Backstitch to secure.
Bring the swivel hardware to the seam.
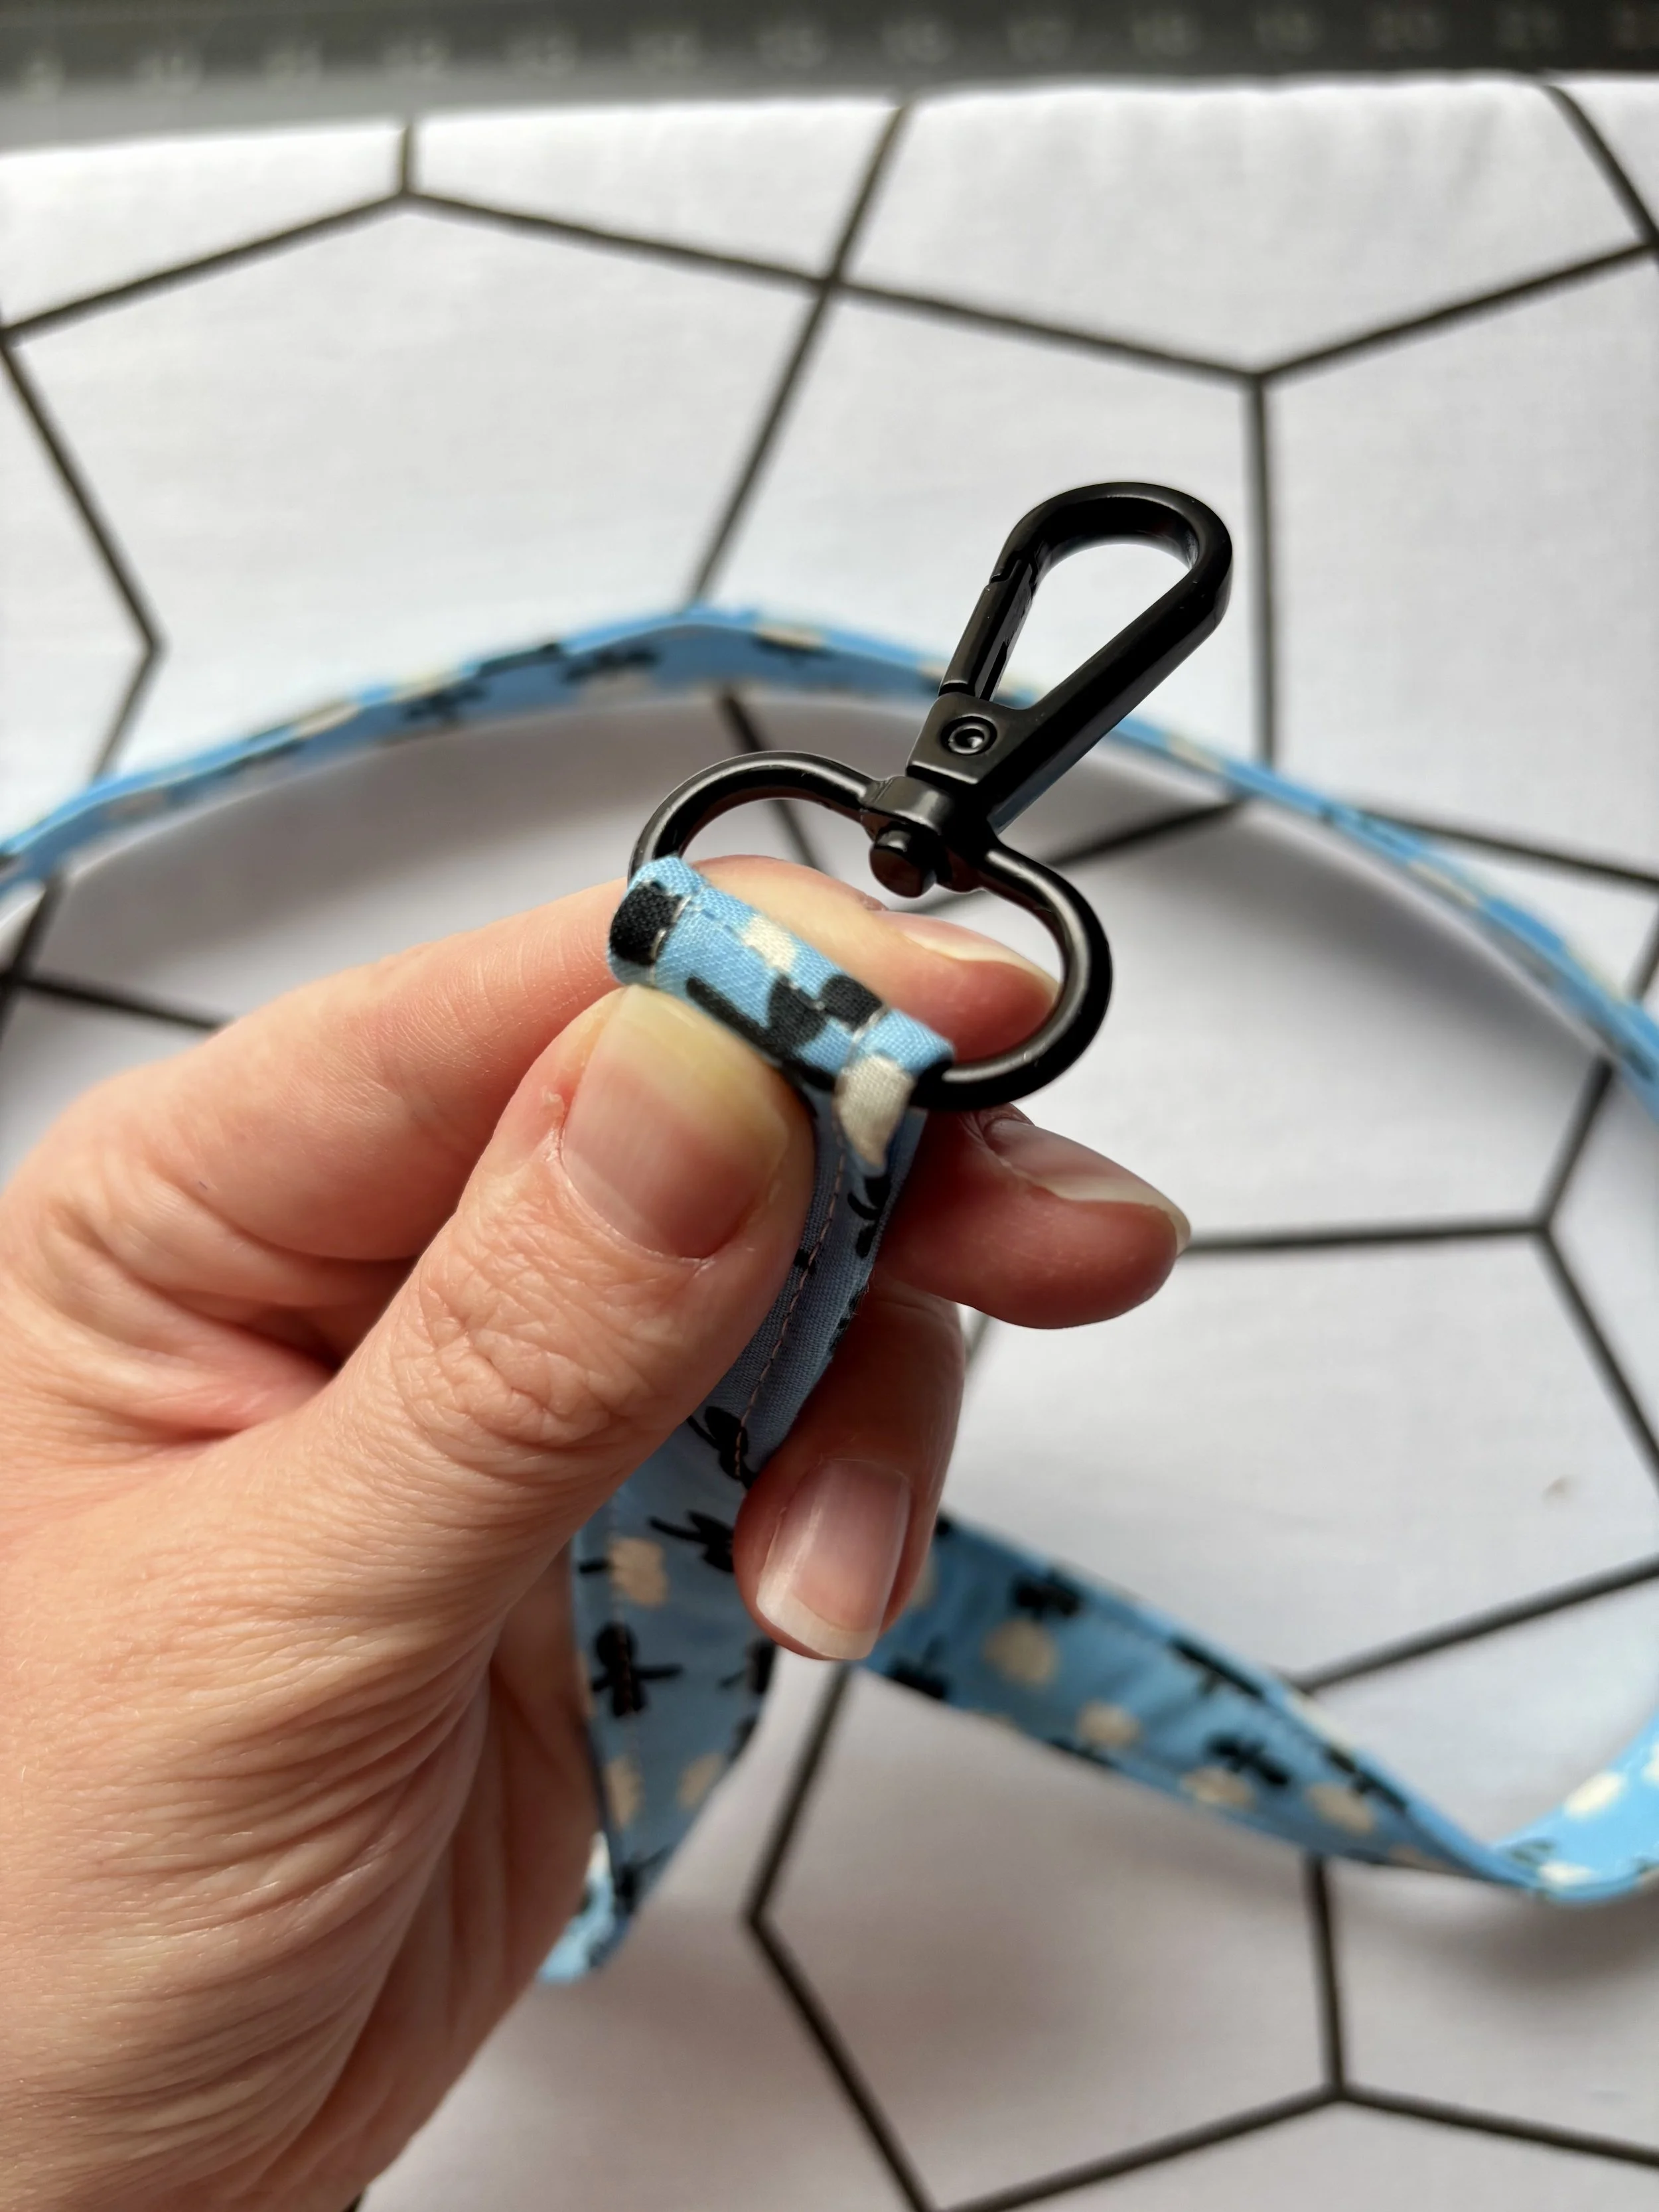
Pull the swivel hook taught and stitch above to secure in place, backstitch to secure. I used my zipper foot.

That’s it, you’re all done!
A quick, useful project that turns scraps into something you’ll reach for again and again.
Don’t forget to tag me on Instagram, so that I can see and celebrate your creations!
@nthdegreesewing #nthdegreesewingtutorials